How to use the Zapier MCP
Trigger automation within your AI conversations.


I've been a long-time user of Zapier. I'm not sure the exact year I started, but I'm going to guess around 7-8 years. I'm always looking for ways to automate actions between apps.
When AI tools became a thing, I started embedding AI into my Zapier workflows. This worked well for standard scenarios that had an obvious trigger in some app, somewhere. But I struggled with a nagging question: how do I handle a "trigger" that happens inside of a conversation in an app like Claude?
Zapier's MCP solves this problem perfectly.
MCP stands for Model Context Protocol, and it is an open-source standard that lets apps "talk" to each other inside an AI tool like Claude or ChatGPT (and many others). Think of it this way: an API is a standard that lets two apps talk to each other. MCPs are kind of the same thing, but for AI tools.
You don't need to worry about the technical side. They're easy to set up. And once you connect Zapier's MCP, the possibilities are nearly endless.
Here's how it works.
Step 1: Connect your MCP server in Zapier
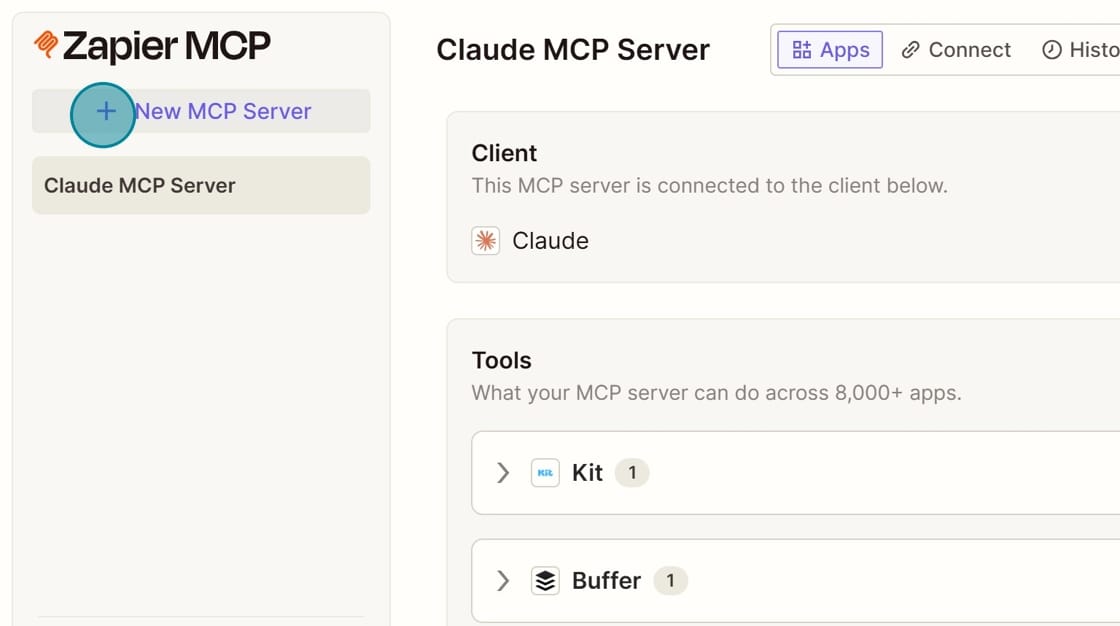
In Zapier, you'll need to connect the AI tool you want to use, which is called an MCP server.
Below, I already have Claude connected. You can add more than one. Click (+) New MCP Server to add yours.
Search for your AI product. Since I already have Claude connected, I select ChatGPT.
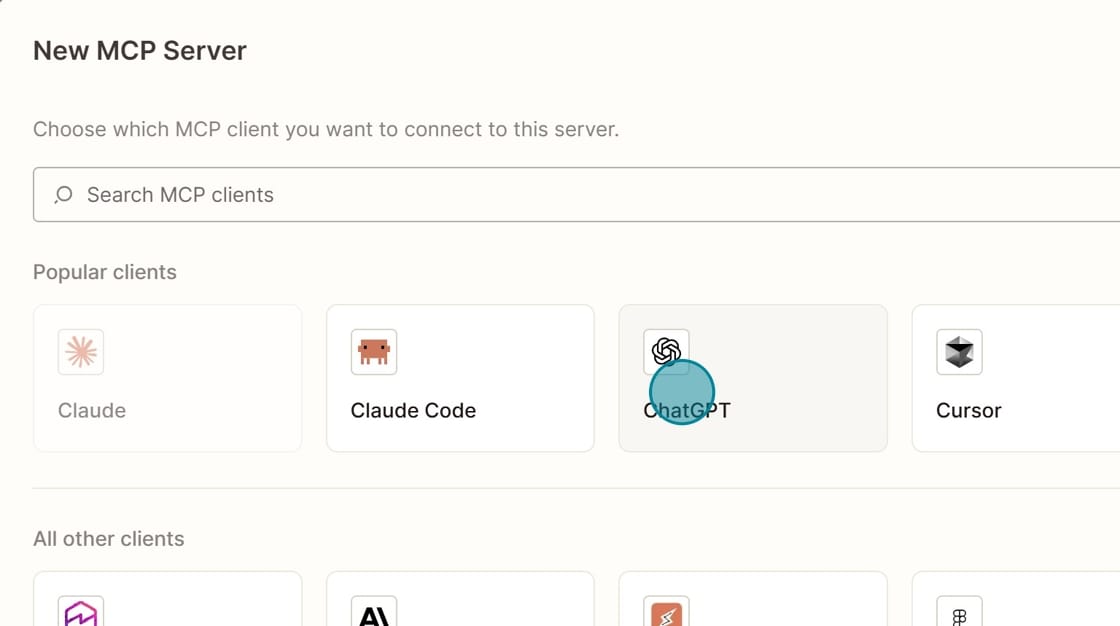
What happens next is specific to each tool. You might be prompted to enter your username and password, or be taken to a login screen for that tool. You may also need to go to the tool, generate an API key, and enter it. Follow the directions on the screen.
Step 2: Add specific tools
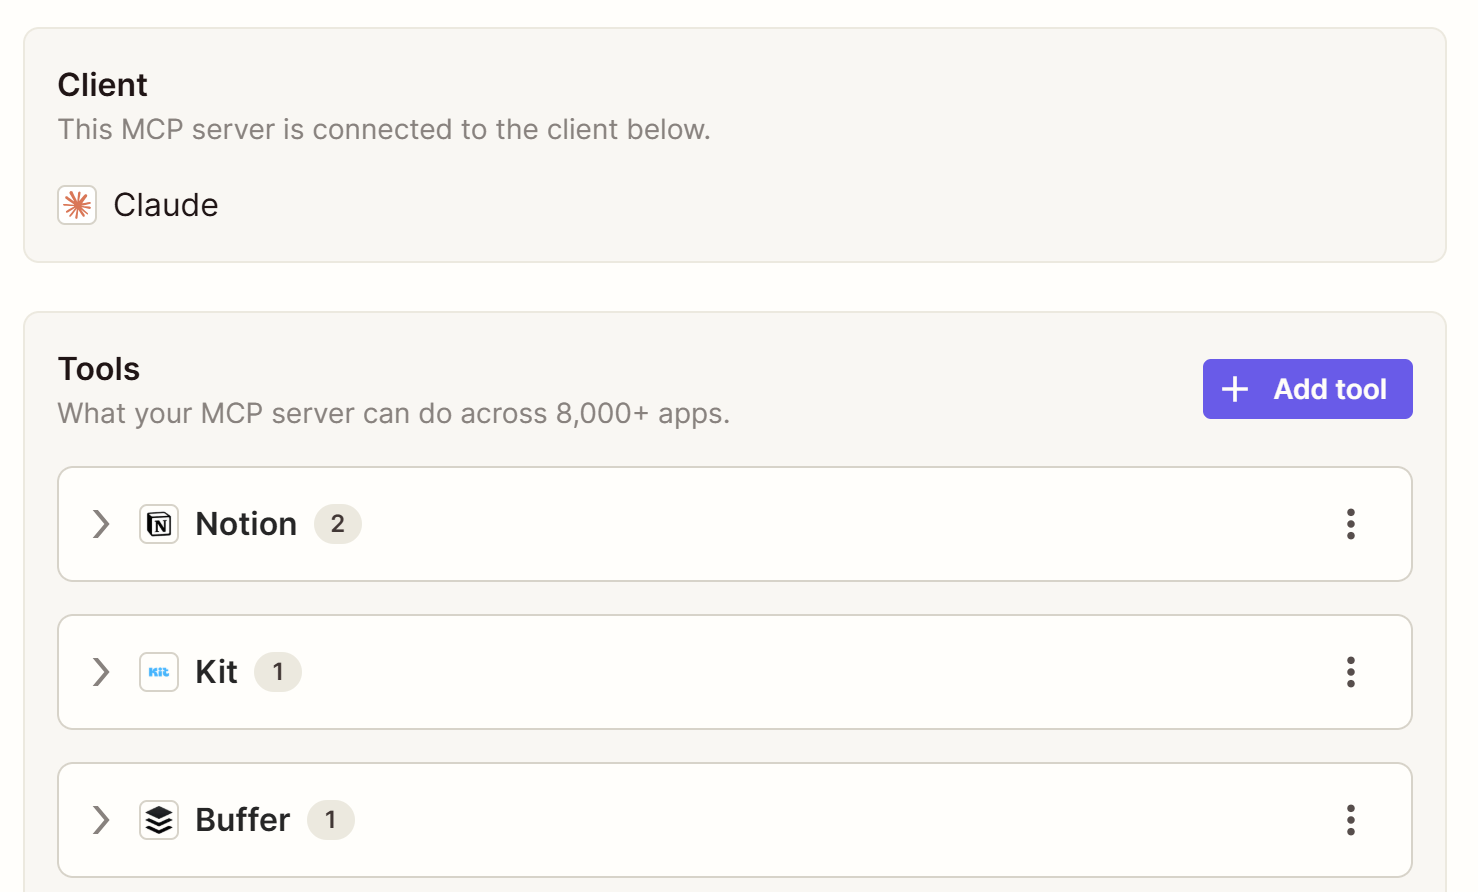
Once your MCP server is connected, you'll need to configure specific Tools. You can choose from thousands of Zapier-connected apps, just like you would in regular Zapier.
Click "Add Tool."
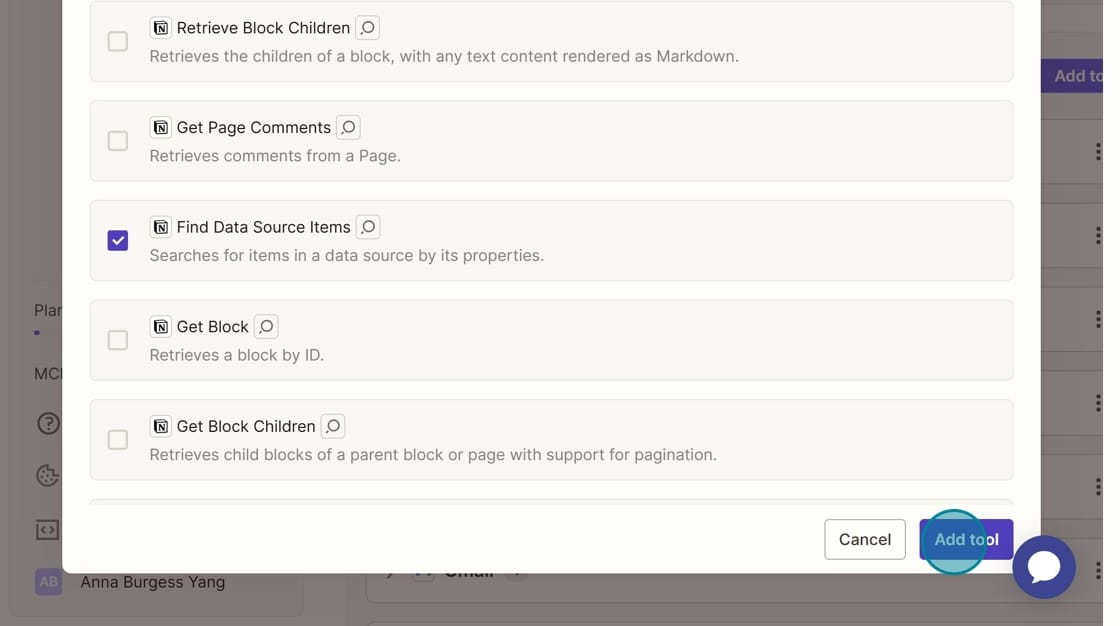
Search within Zapier's tools and click on the one you want to add.
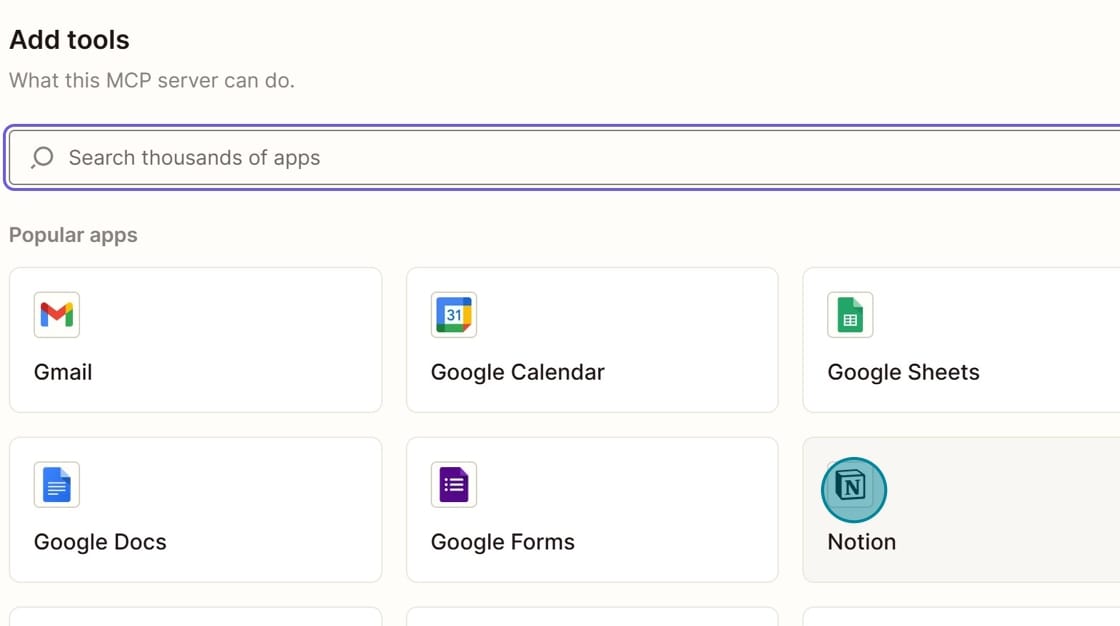
Each tool will have its own list of actions. Click on one (or several) that you want to allow. Then click "Add Tool" at the bottom.
Step 3: Configure the tool
Next, you'll need to configure the actions for the tool. This controls how it behaves within your AI tool.
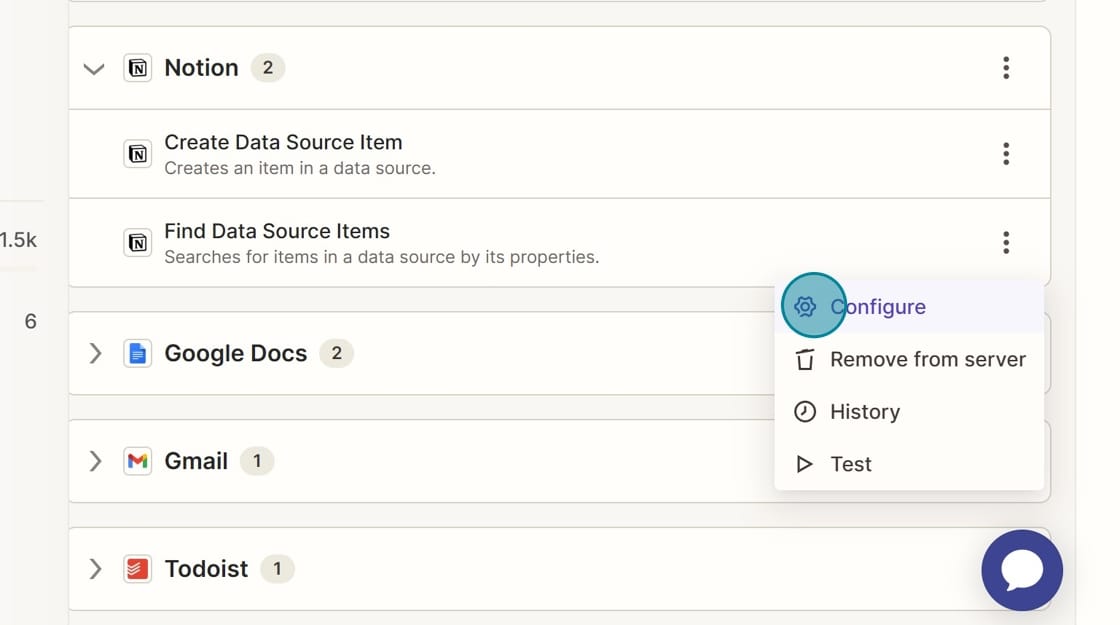
Click on the three dots at the end of the row and select "Configure."
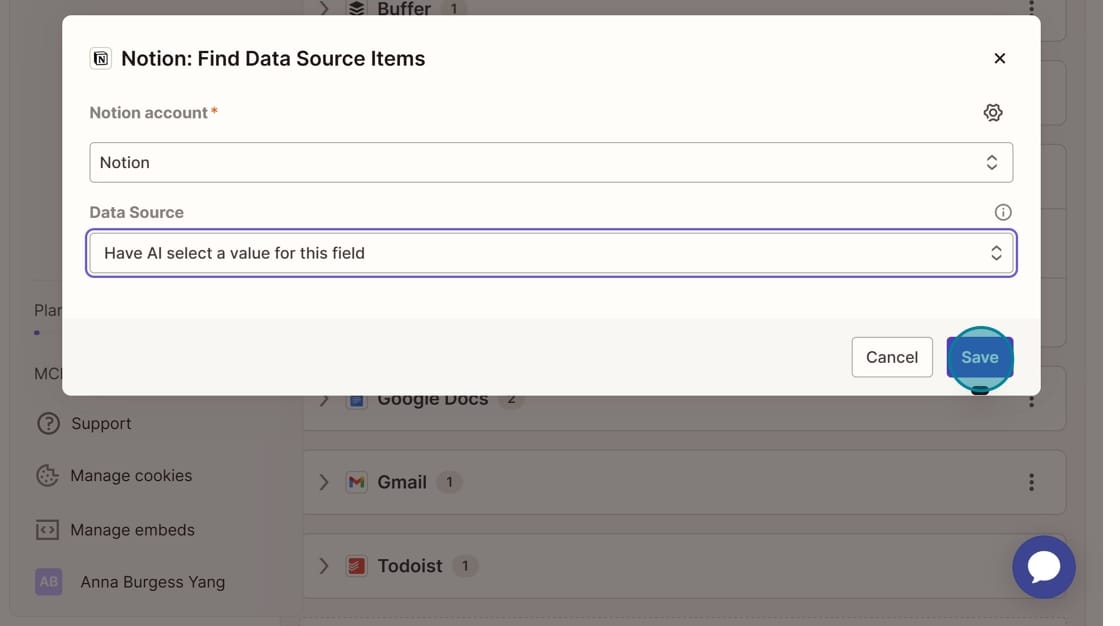
The fields you can configure will depend on the tool and the action. For example, this is Notion's "Find Data Source Items." There are only two things to configure: which Notion account to use (if you have more than one connected in Zapier) and which Data Source to Search.
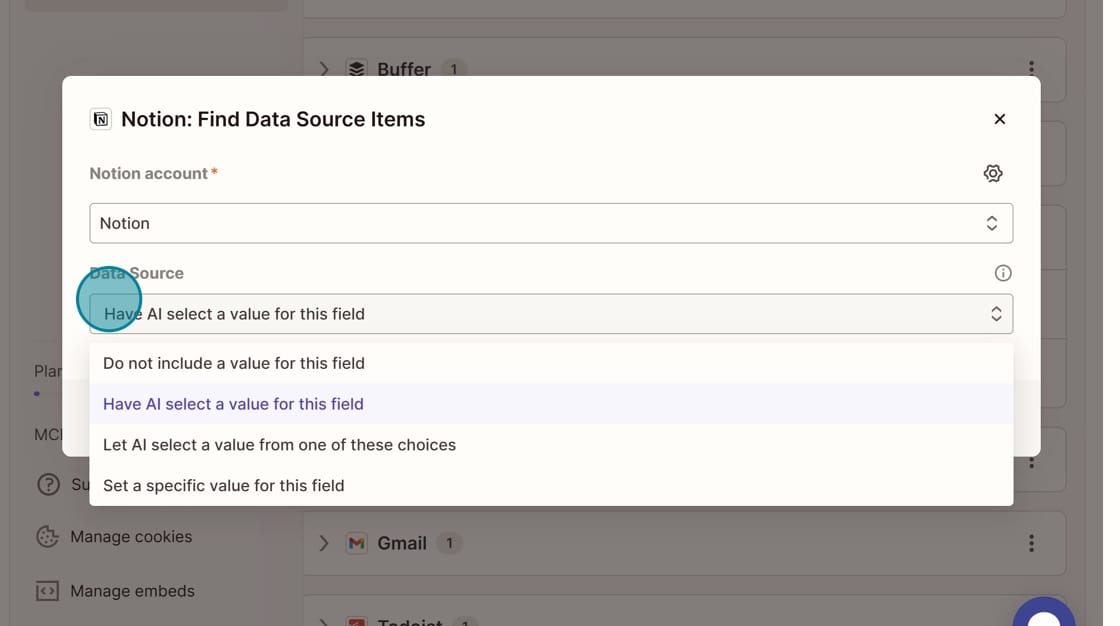
If you leave the option at "Have AI select a value for this field," you'll need to do some confirmation within the chat, saying something like "Search my Notion for my planned blog posts."
If you know that you're only going to want the Zapier MCP to take specific actions, then you can "Let AI select a value from one of these choices" or "Set a specific value for this field." That way, the AI tool is working more narrowly. You'll have less to confirm – because the options are pre-selected in the action – but this is also less flexible.
When I first started using the Zapier MCP, I would select specific values. For example, I would force Trello cards to be created on a specific board. The problem is that each Action can only be configured one time. So if I wanted a different path to go to a different Trello board, it wasn't possible.
I changed most of my configuration to "Have AI select a value for this field," and it works fine. I haven't had anything end up in the wrong place, because Claude always confirms with me before taking any actions.
Once you're done with the configuration, click "Save."
Step 4: Use natural language to call the tool inside a conversation
When you're working within your AI tool, firing the Zapier MCP is as simple as telling Claude that you need to do something.
You don't even need to specify "Use the Zapier MCP server" – Claude will figure it out.
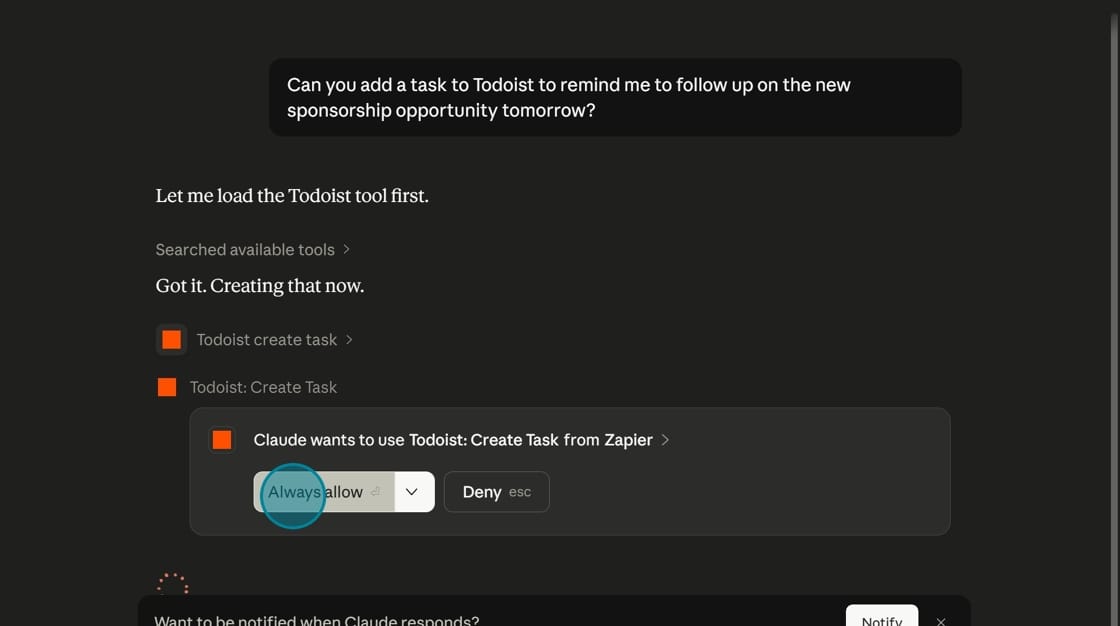
In this example, I was mid-conversation and thought of something to add to my to-do list. If I'd left the conversation and navigated over to Todoist, I would have broken my stride. So instead, I asked Claude to do it for me.
You can see here that when Claude says "Let me load the Todoist tool first" it is actually calling the Zapier MCP (the orange logo).
Claude confirms that I will allow it to Create Task from Zapier.
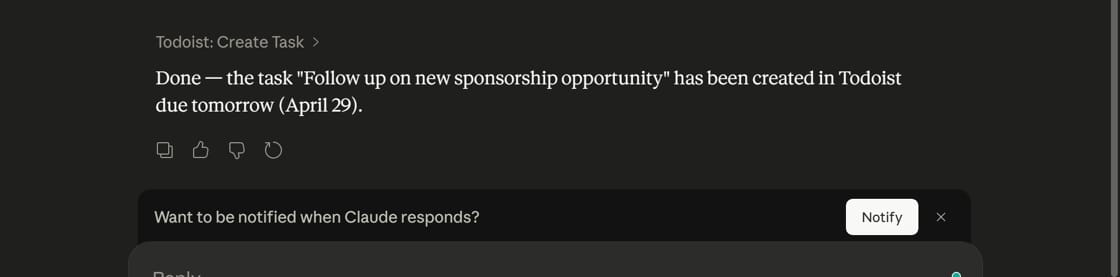
Because I allow Claude to select the list and Claude has learned from past conversations, it added the item and then said "Done." Natural language ("tomorrow") made sure that my item in Todoist got the right date.
Pro Tip: Configure nudging behavior in your Settings
I use a combination of tools like Trello (project planning) and Todoist (to-do list) to keep my life organized. Sometimes, I'm mid-conversation with Claude and may not pause to say, "Hey, can you add this new project or task?"
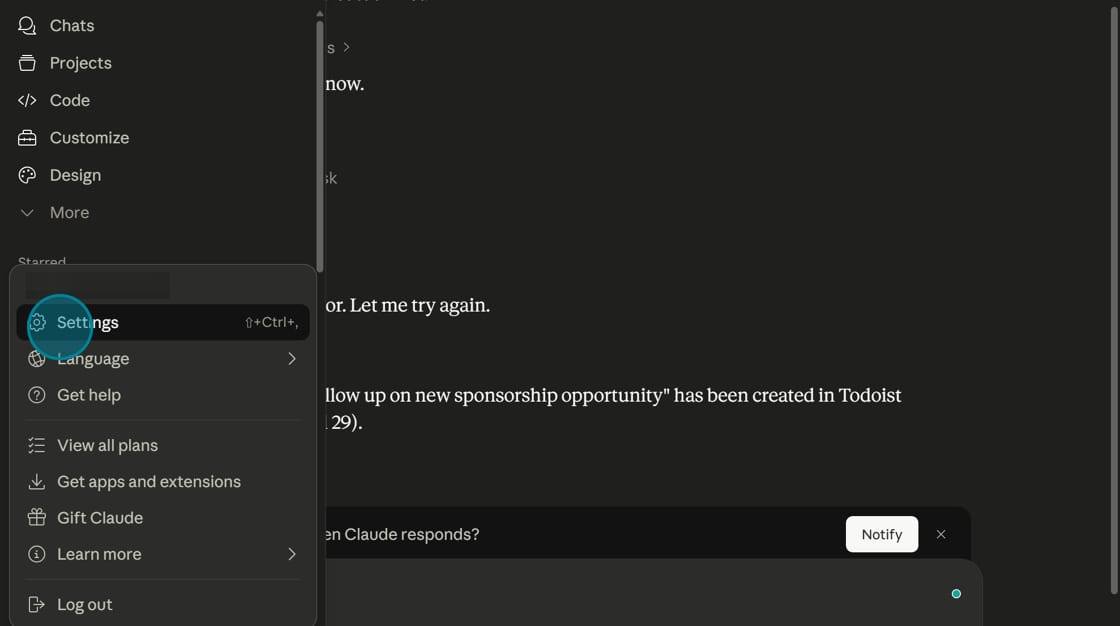
I've set up nudging behavior in my system settings so Claude catches this, even if I don't. To access your settings, click on your profile in the lower right corner, and select "Settings."
In your Settings, you have a "Personal Preferences" text box, where you can type anything you want. I have an entire section for Zapier MCP Tool Usage.
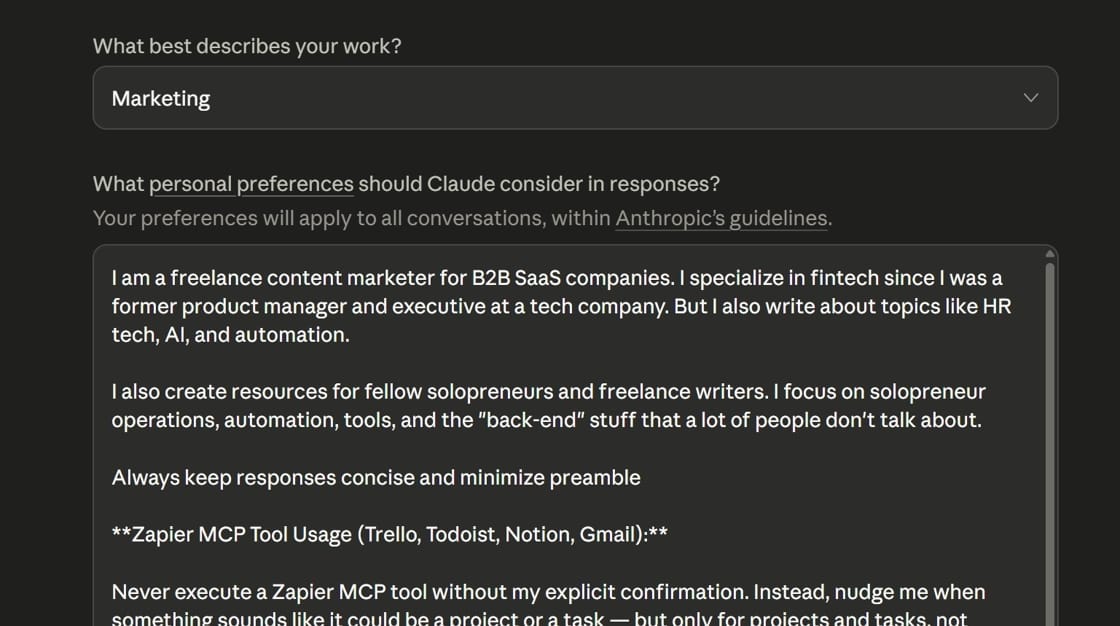
I describe the nudging behavior I want Claude to use:
- If something sounds like a project, ask me if you should create a card in Trello.
- If something sounds like a follow-up item, ask me if you should create a task in Todoist.
- Etc.
I describe, in detail, I consider a "project" versus a "task." If Claude gets it wrong, and says, "Do you want to create a project in Trello?" I can reply, "No, actually I want to create a task in Todoist" or "No, I don't want to create anything."
More resources:

Want to see some specific MCP examples?
Check out my free guide.