
Travel Planning With AI: Research, Organization & Tips
Hand off the trip research to your AI tool of choice.


Planning a big trip can mean hours of research across tabs, reviews, and maps. If you’re like me, the amount of information you need to coordinate can be overwhelming.
I’ve always created detailed travel itineraries when planning a trip for my family of five, but I manually add details, links, reservations, notes, and more. A Claude skill can gather research for you and create an itinerary that you can then edit and revise.
What you need:
- An AI tool like Claude, ChatGPT, or Gemini
- A place to save the itinerary, such as your Google Drive or Notion
- Optional: My itinerary builder (below). Use the prompt to answer some questions about your trip, and your AI tool will build it for you.
Why plan a trip with AI
Trip research is time-consuming, and suggestions only help when they fit your group, your budget, and what's already booked. The itinerary builder asks those questions up front, so the research matches your actual trip. It can also flag destination-specific details you might not know to look for.
In this example, I’m planning a family road trip, staying with relatives, saved as a Google Doc to share with family. Other ways to use it:
- A work trip or conference where you only have free time in the evenings
- A weekend getaway with a set budget
- A family reunion where you're coordinating plans for a larger group
Step 1: Start the itinerary builder
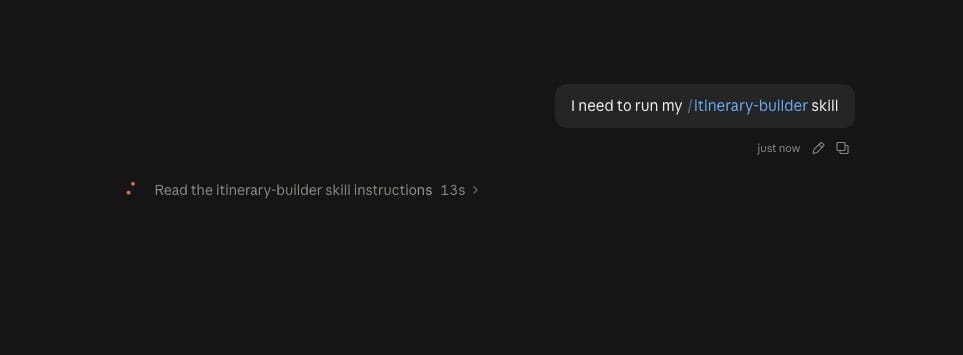
If you’re using my itinerary builder skill, type something like "I need to plan a new trip." In Claude, you can also use the command /itinerary-builder once you’ve uploaded the skill.
If you downloaded the .md file, copy and paste the prompt into your AI tool. With the itinerary builder, your AI tool will automatically move through the next steps. If you’re working from scratch, you’ll need to proactively provide the details to your AI tool for each step.
If you’re not relying on the itinerary builder, move directly to Step 2.
Step 2: Share your dates, destination, and bookings
Claude asks where and when you're traveling, then flags anything specific to that destination.
Next, the itinerary builder asks what's already booked (transportation, lodging), since that changes how much time you have each day.
Step 3: Choose your output format and level of detail
Pick where the itinerary goes: Notion, Google Drive, a Word doc, or a spreadsheet. For Google Drive, drop in a folder link or save to the root.
Then choose the level of detail: hour by hour, morning and afternoon blocks, or a day-level plan. (I’m super detailed, so I like to plan in hour-by-hour blocks of time.)
Step 4: Describe your travel group and budget
Tell Claude who's traveling, any dietary restrictions, and what you like to do.
Your budget will drive the suggestions for activities and places to eat, and so does which meals you plan to eat out (versus buying groceries or eating with a host of the place where you’re staying).
Step 5: Review and refine the suggested activities
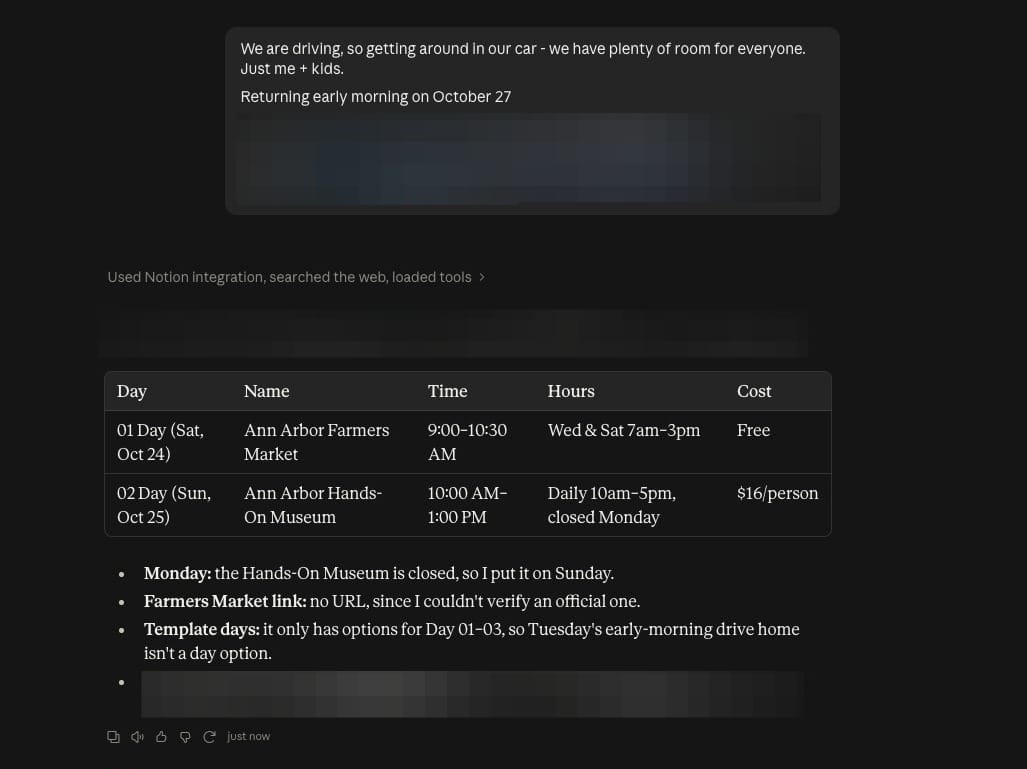
Claude researches and returns a list of activities to consider. Go back and forth to keep what you like and drop what you don't, or move straight to saving and edit the itinerary later.
Step 6: Open your itinerary
Claude saves the itinerary to your chosen location. Open the doc to keep planning or share it with the people you're traveling with.
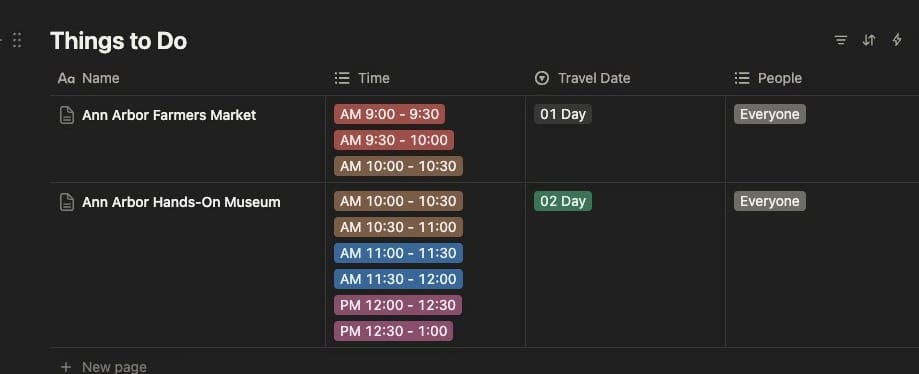
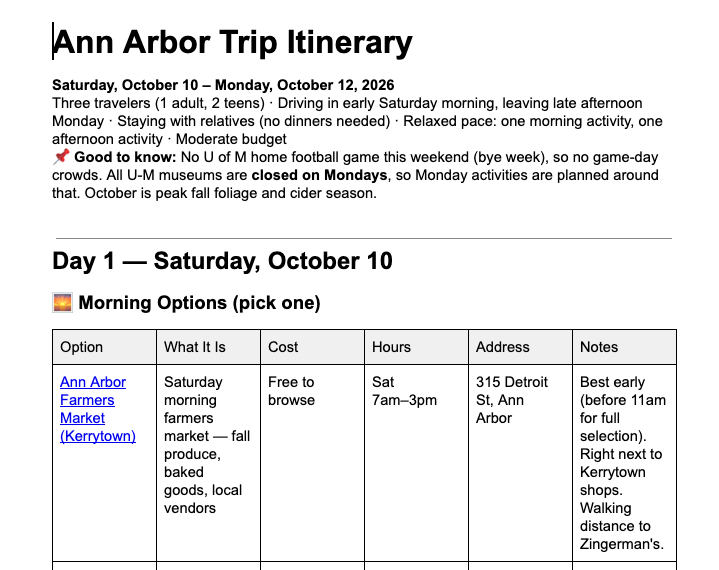
I mostly use Notion, but will occasionally use Google Docs if I need to share my plans with other people.
Notion version:
Google Docs version:
Pro tips
- Mention any fixed plans (drives, check-in times, stays with family) early in the conversation so Claude doesn't overbook those days.
- Save to a shared Google Drive folder if other travelers need access.
- Indicate that you want a less detailed itinerary if you want room to adjust plans once you're there.