Streamline Image Creation With AI
Prepare images for your published content.


For more than a year, I've been using Midjourney to create images for my Substack, newsletter, Medium, and blog.
Pre-Midjourney, I used stock photos from Unsplash. I really wanted unique images for my writing, but I didn't have a way to create them. Filters were the best I could do, giving the photos a monochrome vibe.
I'm in a spot with my work where my options are "use stock photos" or "try to generate something a little more unique using AI." Between those two choices, AI is better suited for what I'm trying to do.
This isn't a tutorial about "how to use Midjourney." For that, you can check out Midjourney's Help Docs. This tutorial assumes you know how to use Midjourey and follows my process for streamlining AI image creation.
I'd get stuck at the Midjourney prompt stage. I know how to prompt Midjourney, but I couldn't envision the output I wanted.
I've gotten past "image block" (like writer's block, but for images) with a little help from Unsplash.
Step 1: Find an image on Unsplash
I start my process in the same way I did pre-Midjourney: in Unsplash. I'll type in a few words or a phrase and start browsing photos.
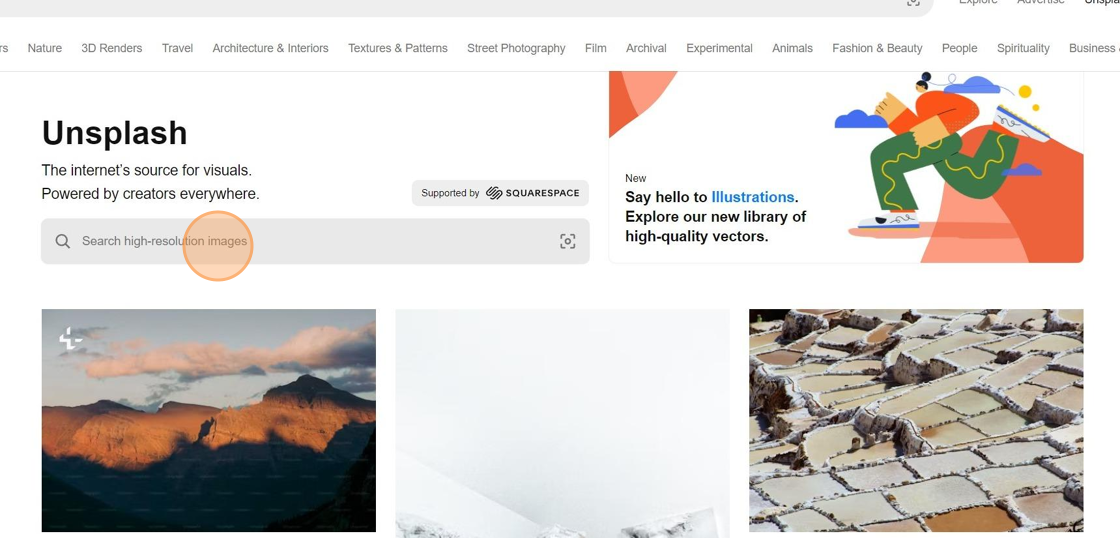
Once I've found an image, I'll download it.

Step 2: Use the image as inspiration for Midjourney
To create new images in Midjourney, you use the /imagine command.
In my case, I don't want to start from scratch. I want to use my Unsplash image as inspiration. So I prompt Midjourney to describe the Unsplash image. The /describe command will return what Midjourney "sees" in the Unsplash image. I can then use this to create my own prompt.
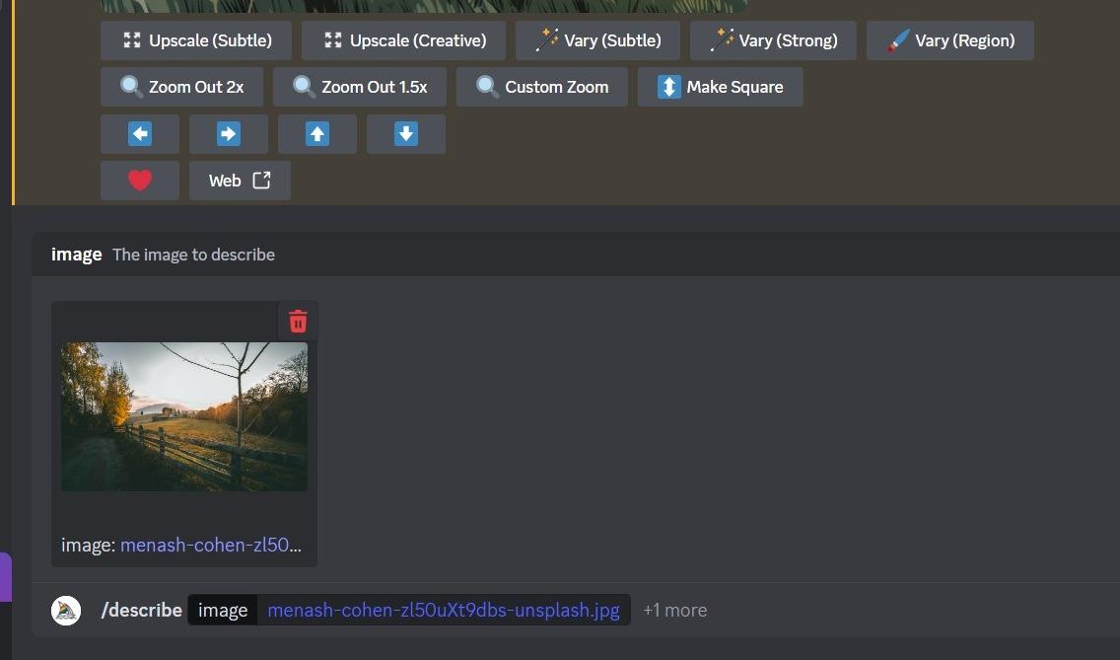
The /describe command has two options: image and link. I select image.
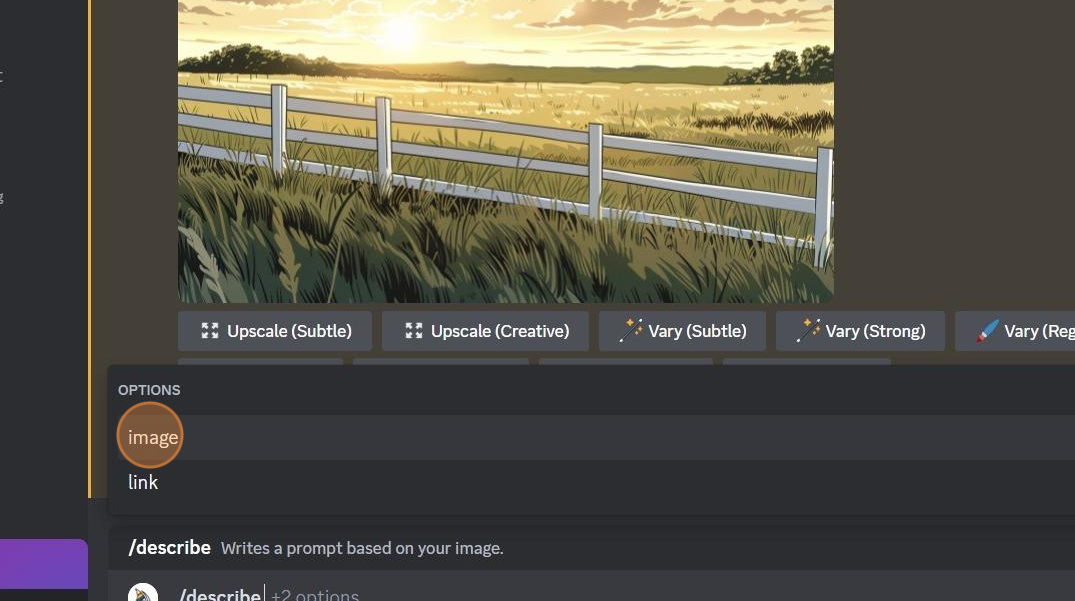
Midjourney will prompt me to either drag-and-drop or click to upload my image file.
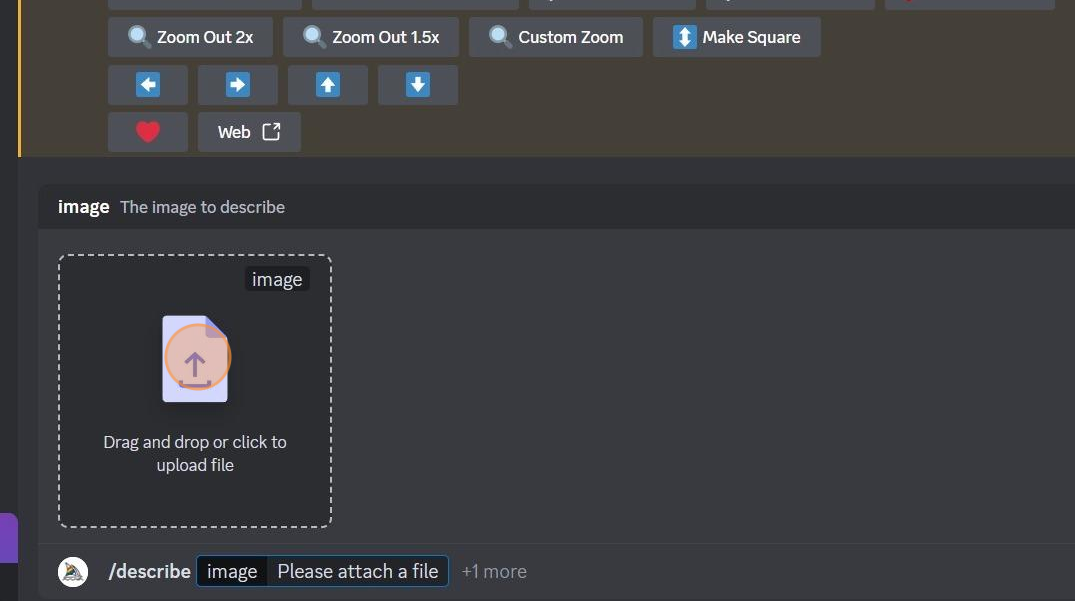
I'll browse to my downloaded Unsplash image and select it.
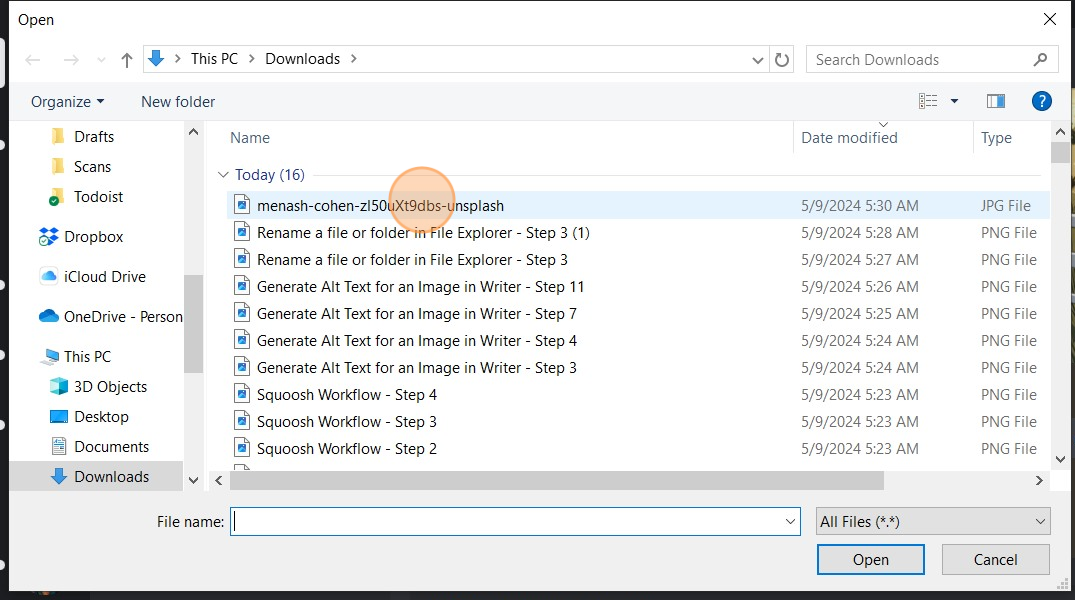
My selected Unsplash photo will be displayed in Midjourney. Hit "Enter" on the keyboard to send the /describe command.
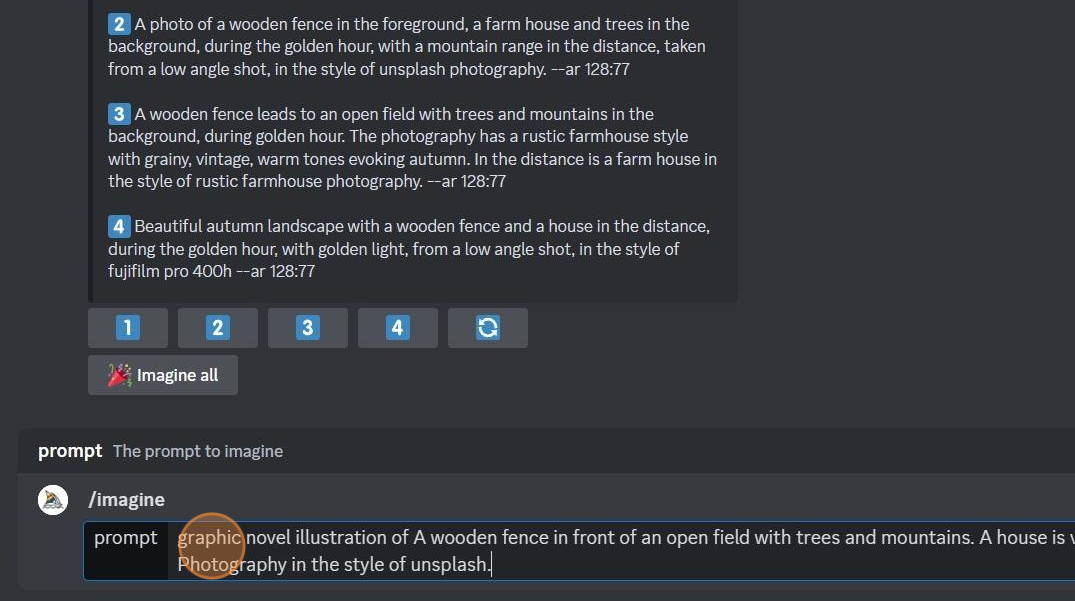
Midjourney will return four descriptions of the image. Usually, the first or second is closest to what I want.
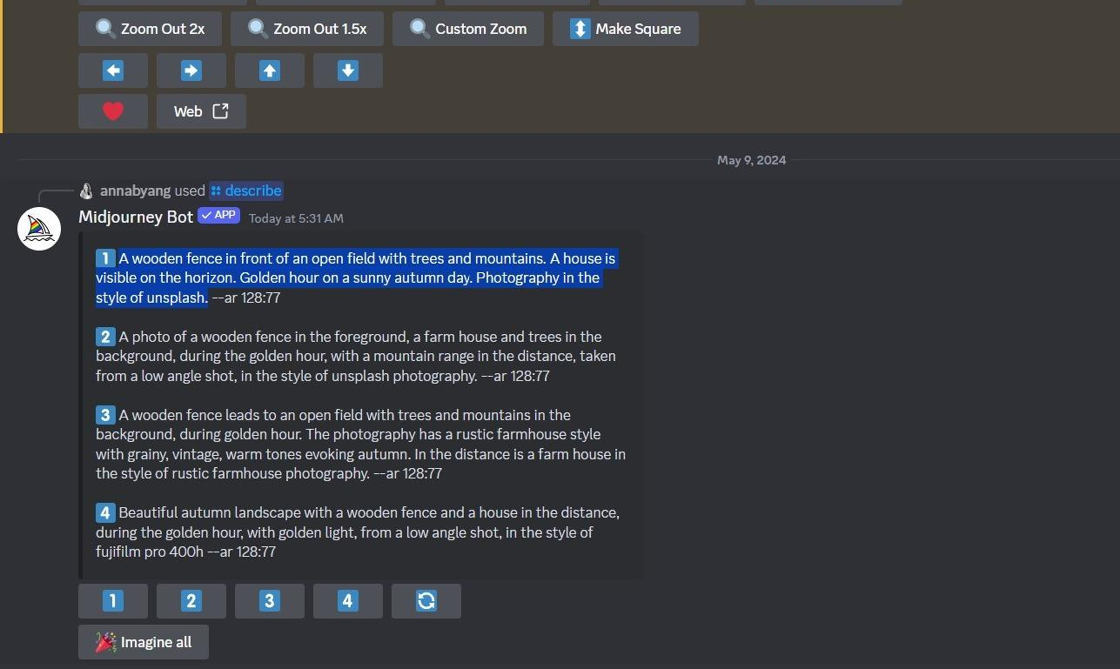
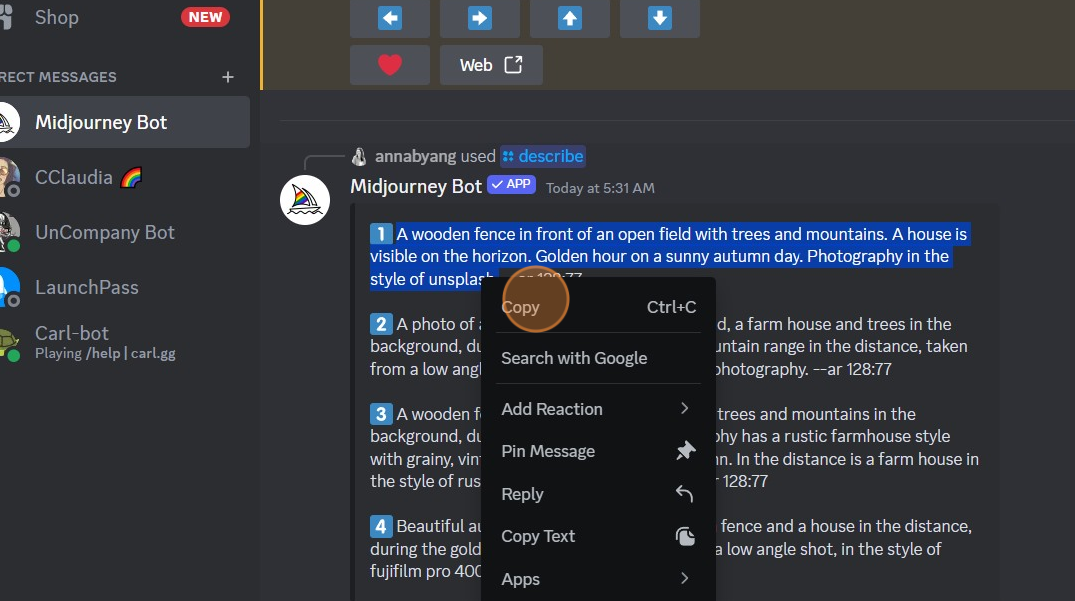
I'll highlight the text, right-click, and select "Copy."
Then, I'll run the /imagine command. I paste the text I'd copied from the /describe result.
This is where I edit the prompt. In this example, Midjourney came back with "photography in the style of Unsplash" as part of the description. I don't want that in my new prompt! So I'll take that text out.
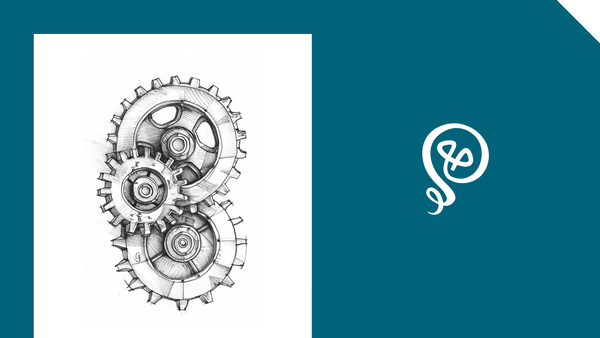
I also use different styles for different publications (Substack = graphic novel, Medium = pop art, blog = abstract watercolor illustration). I add the style to the beginning of my prompt.
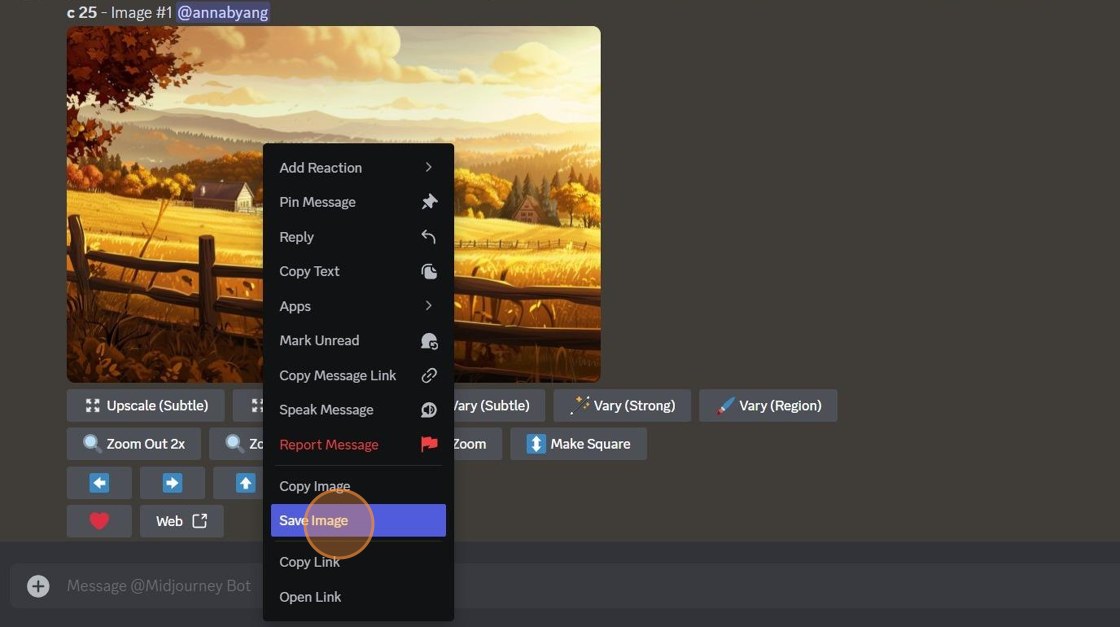
Midjourney will return four image results. I'll select the one I want and upscale it.
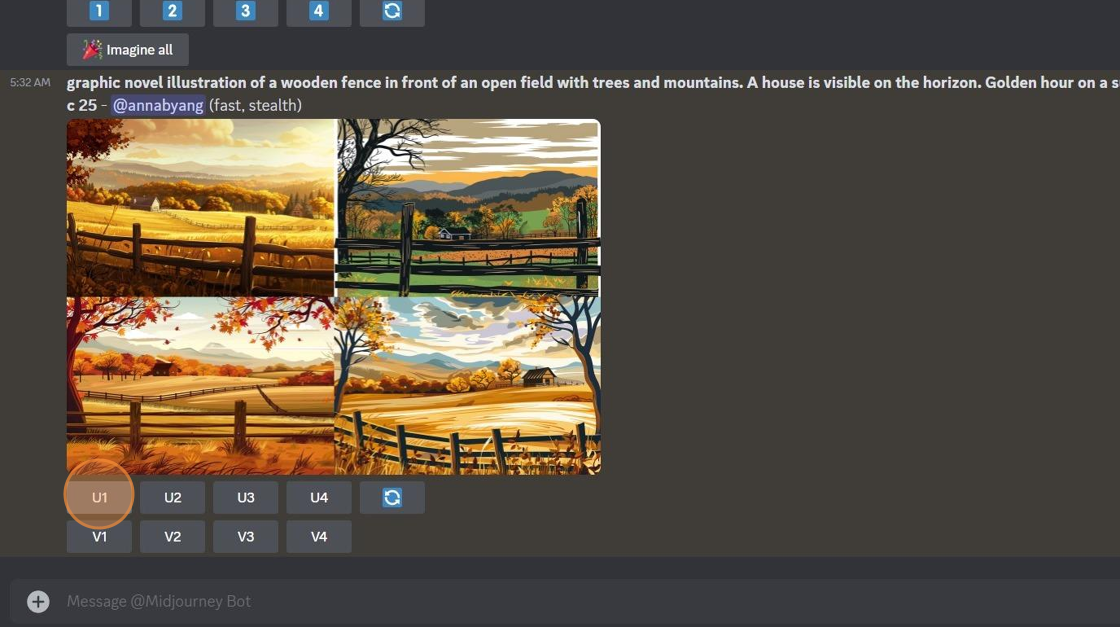
Then I'll right-click on the image an Save it.
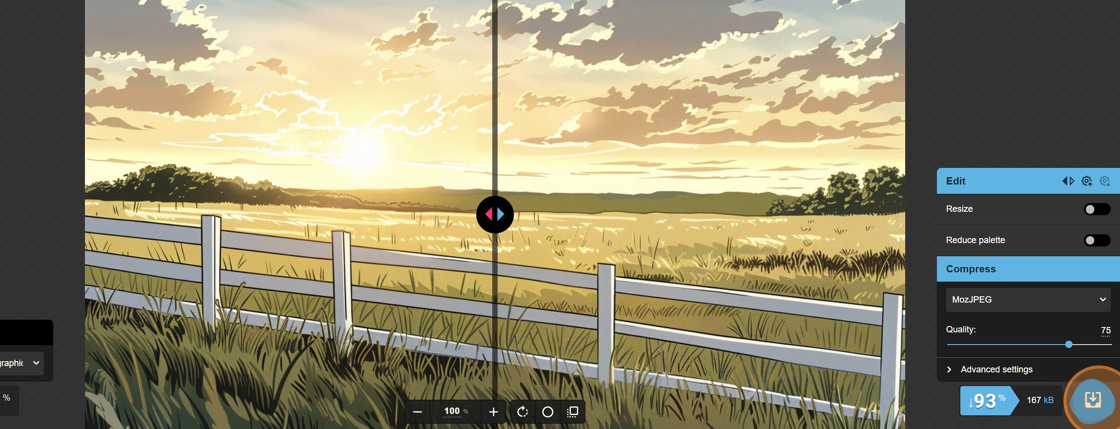
Step 3: Shrink the image with Squoosh
Midjourney's file sizes are quite large – much bigger than I want on my website. It can affect the performance of my page. So I need to shrink the image.
To do this, I use Squoosh (which is free).
Click on the "Drop OR Paste" button in the middle of the screen. You'll browse to your image and select it.
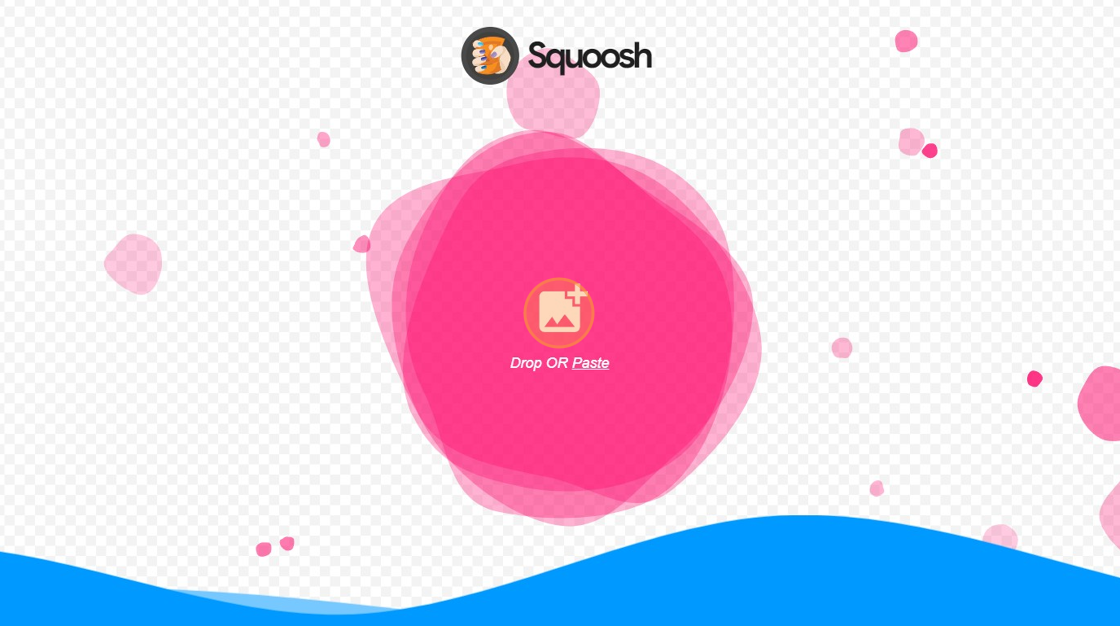
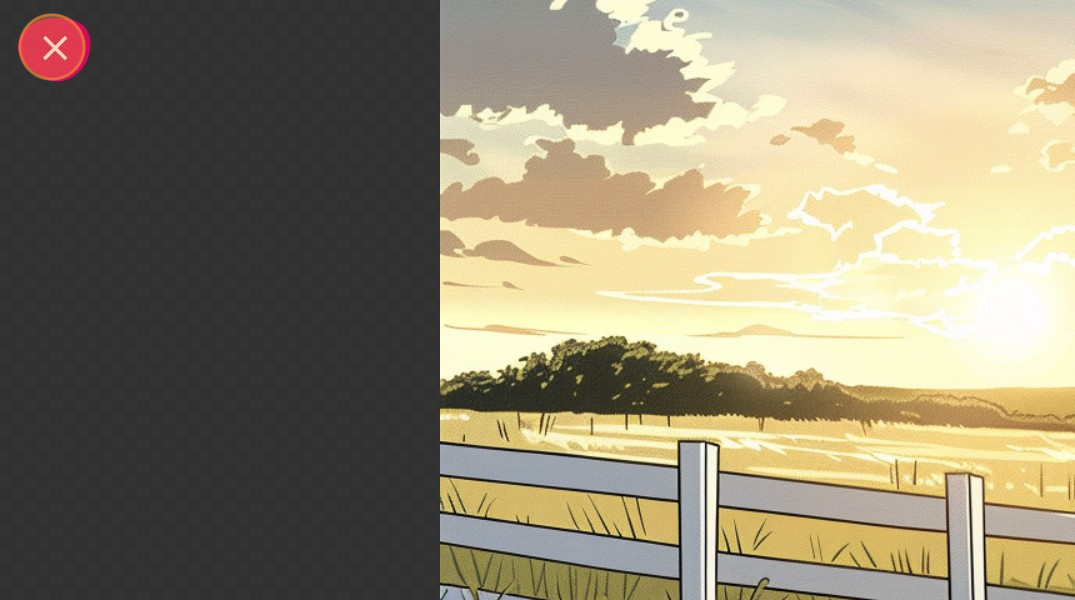
Once your image is uploaded, you'll click on the down arrow button in the lower right corner of the screen. Squoosh will default shrink your image by over 90%, but you can change this by adjusting the Quality.
That's it! You can click on the X in the upper right corner of the screen to close the image (and upload another, if needed).
At this point, I'll usually rename my image to something like sitename-short-description-of-post.
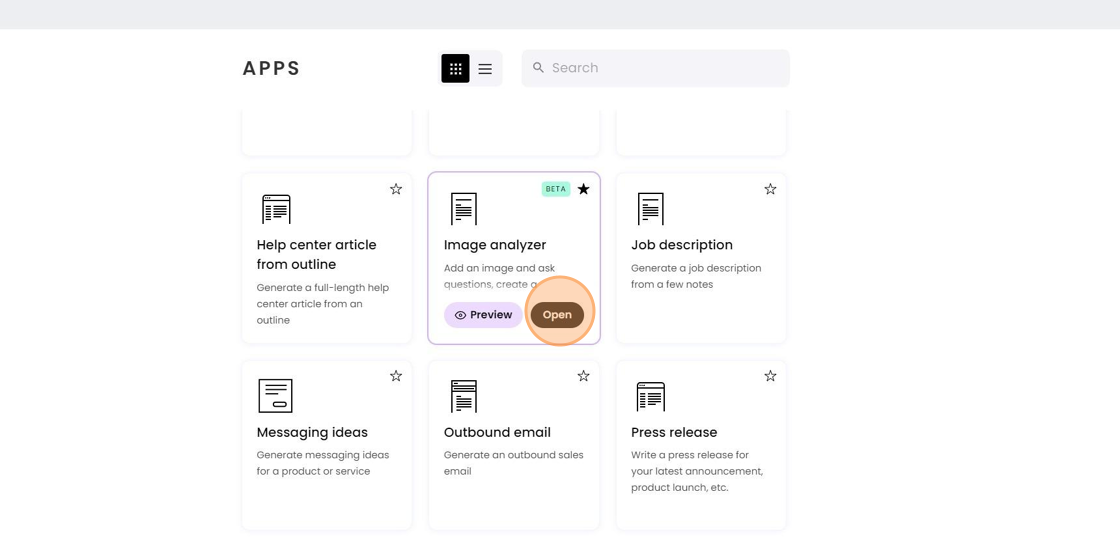
Step 4: Generate alt text with Writer
Next, I need to generate Alt Text for my image. I do this in Writer (I'm on a paid plan).
In Writer's apps, I select Image analyzer.
I browse to upload my image.
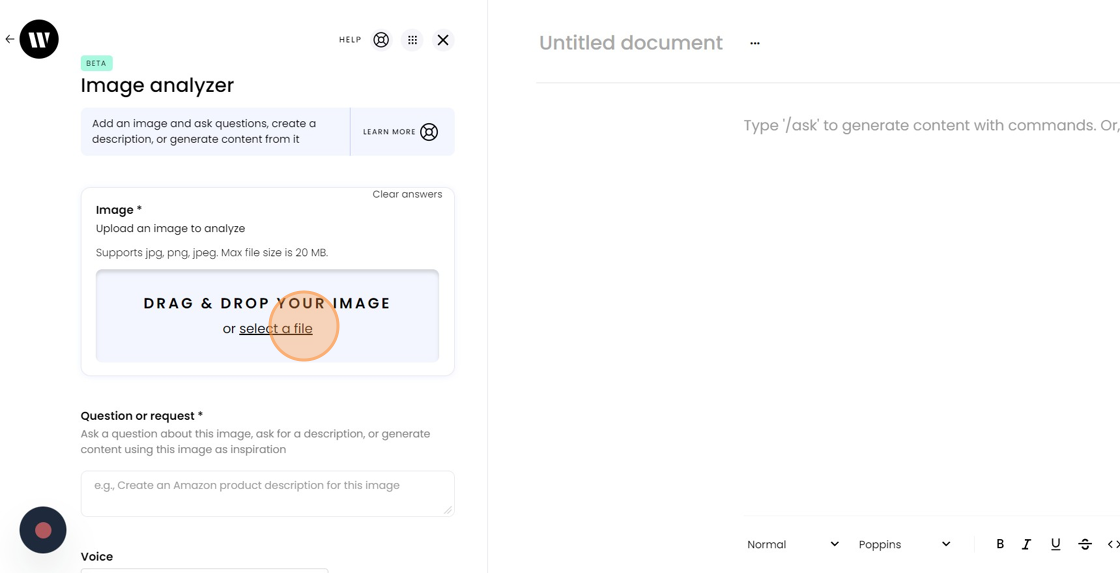
In the prompt, I type in "generate alt text" and click the Generate text button.
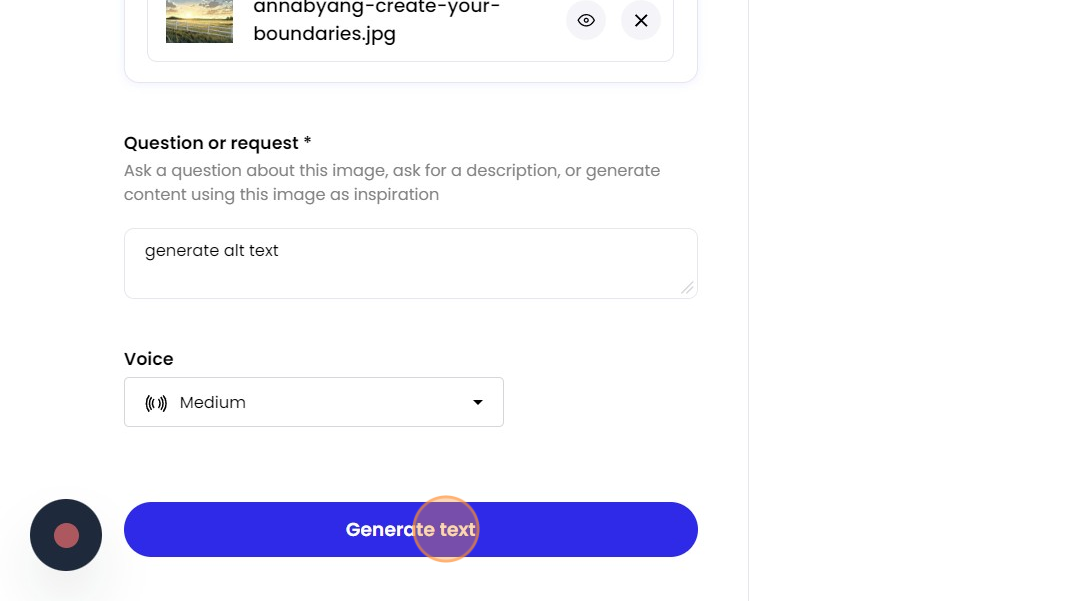
The output is usually one or two sentences. I'll edit it to something shorter.

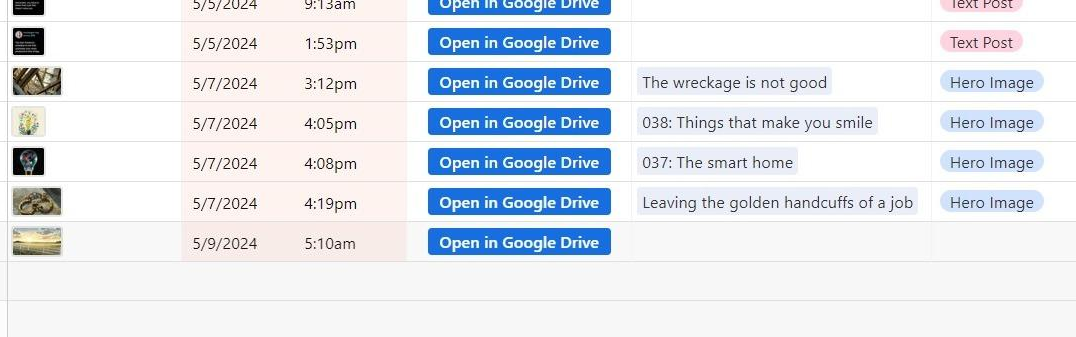
Step 5: Add the image to my content library in Airtable
Finally, I'll upload the image to my Google Drive.
My Drive folder is synced to my Airtable Content Library, so I'll see the image added as a new record.
I'll link the image to the appropriate article, once it's published.
More resources:
- Want to build your own Content Library? Check out this eBook.
- Read more about how I keep track of my freelance work in Airtable.
- Want more ideas delivered directly to your inbox? Check out my newsletter.
I created the screenshots in this tutorial using Scribe – it's one of my favorite tools. You can check out Scribe here [affiliate link].