Automatically Send Your Published Articles to Buffer
Create a workflow to publish your content to your social profiles.

I publish a lot of content on the internet. Medium, Substack, and my blog — to name a few.
When I publish something, I want to share the link across my social platforms. Gotta get the most mileage out of the content, right?
The problem: I never want it to publish to my social profiles automatically, for a few reasons. I submit to a lot of publications in Medium and I have no control over when they're published. Sometimes it's at 3:00 a.m. Sometimes two will publish in the same day.
I want to share the links with my regular posting cadence and say something thoughtful with each post. No one likes a feed full of random links and no context. It feels like spam. 😣
I use Buffer to schedule all of my content. Using Zapier [affiliate link] automation, I can save new published content as a Buffer Idea, to later schedule as a post.
Step 1: Create a Zap based on your RSS feed
In Zapier, you always need a "trigger" or something that starts the automation.
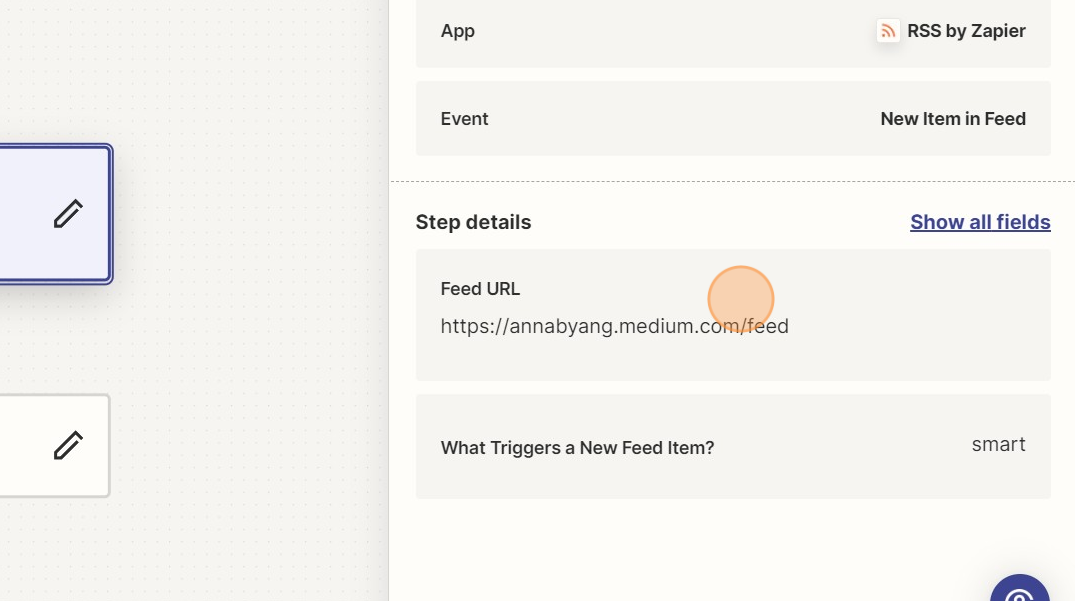
I use the RSS feed for each of my publications. The app to use is RSS by Zapier and the trigger is New Item in Feed.
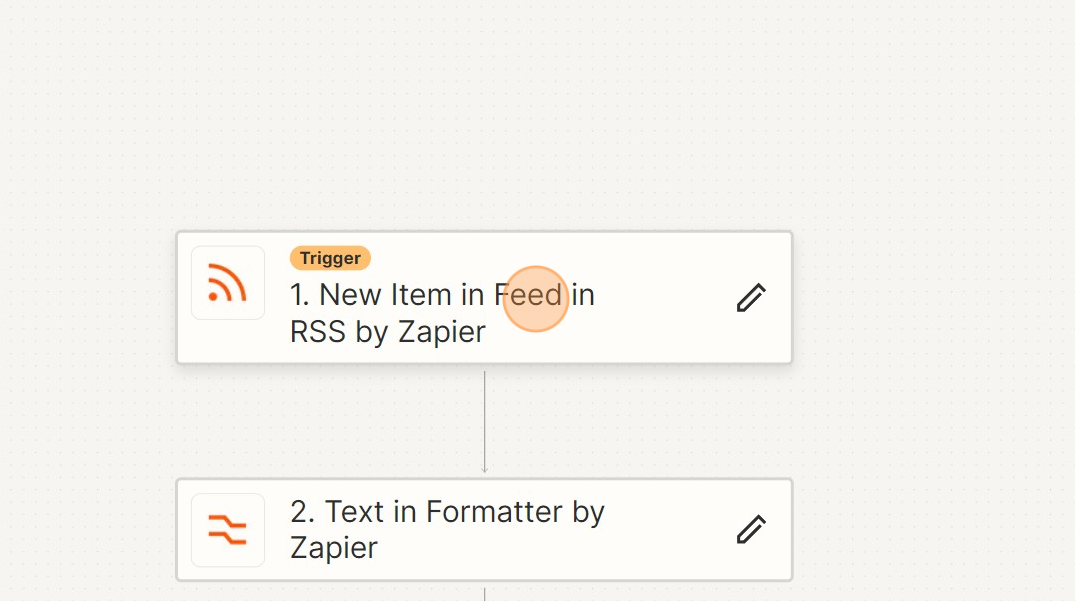
A little bit of Googling should help you find the URL of your RSS feed. Here's what it looks like for Medium. Drop the URL into your Zap.
Step 2: Add a Zapier step to Create Idea in Buffer
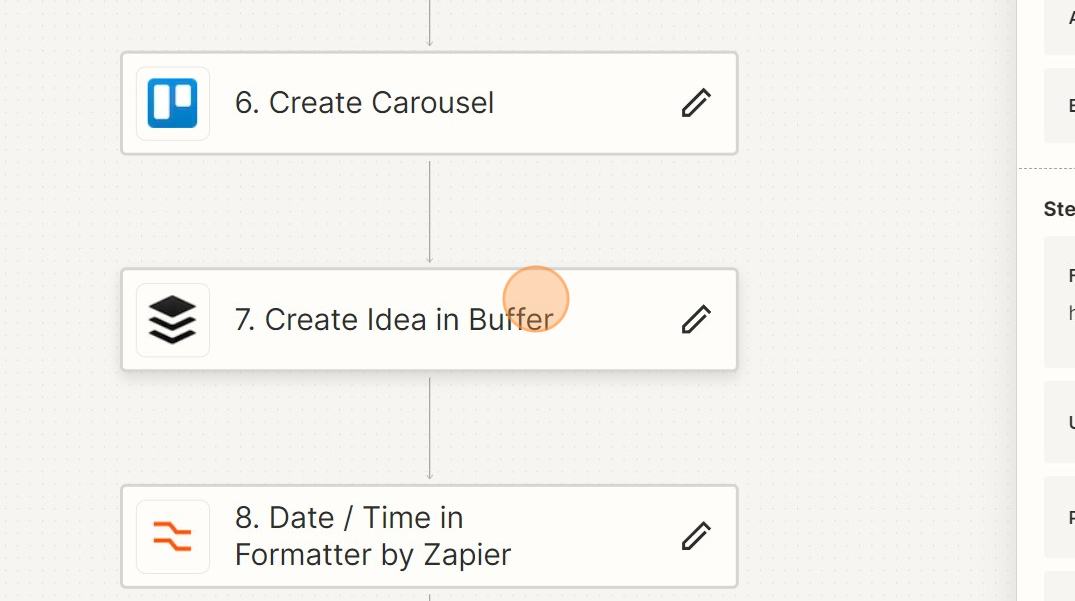
For the next step, you'll select Buffer as your app and select Create Idea in Buffer.
(As you can see, I have other steps in my Zap. This one actually has 7 steps! For example, I also create a reminder in Trello to make a carousel for the article later.)
You'll configure your Buffer step.
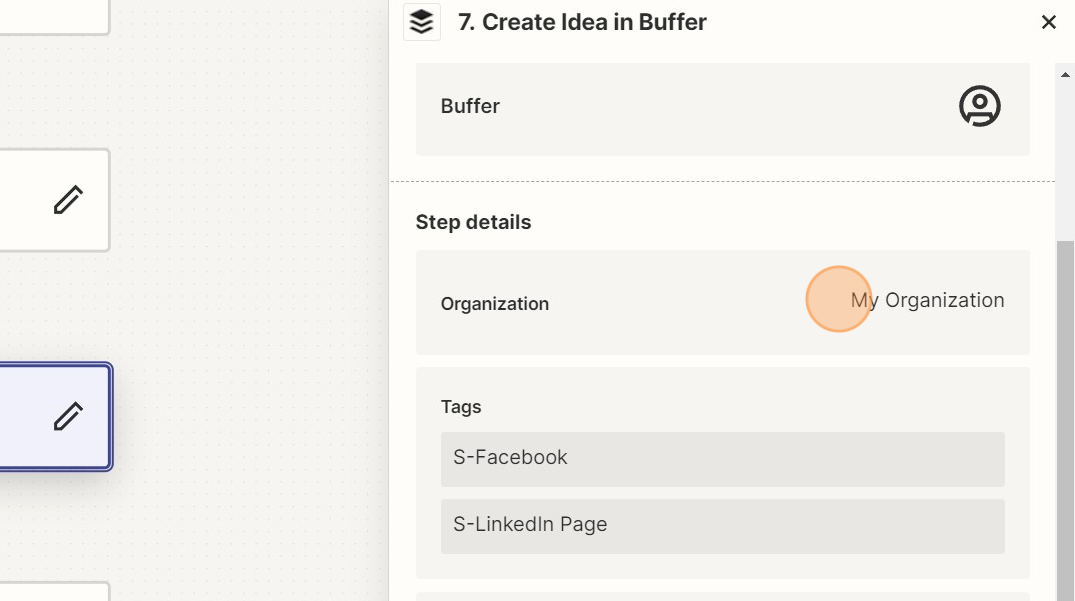
I add Tags to mine, to keep Buffer organized. For ideas, I have tags by different platforms. It helps me remember which social profiles I'd like to publish to, because the audiences are different depending on the platform.
You can see here, my Medium articles will have Tags added for Facebook and LinkedIn. (The "S" in front keeps my Tags sorted in Buffer the way I want: "S" for "Social Profile.")
Step 3: Create a Post from the Idea in Buffer
Once a week, I go into Buffer and schedule my social content.
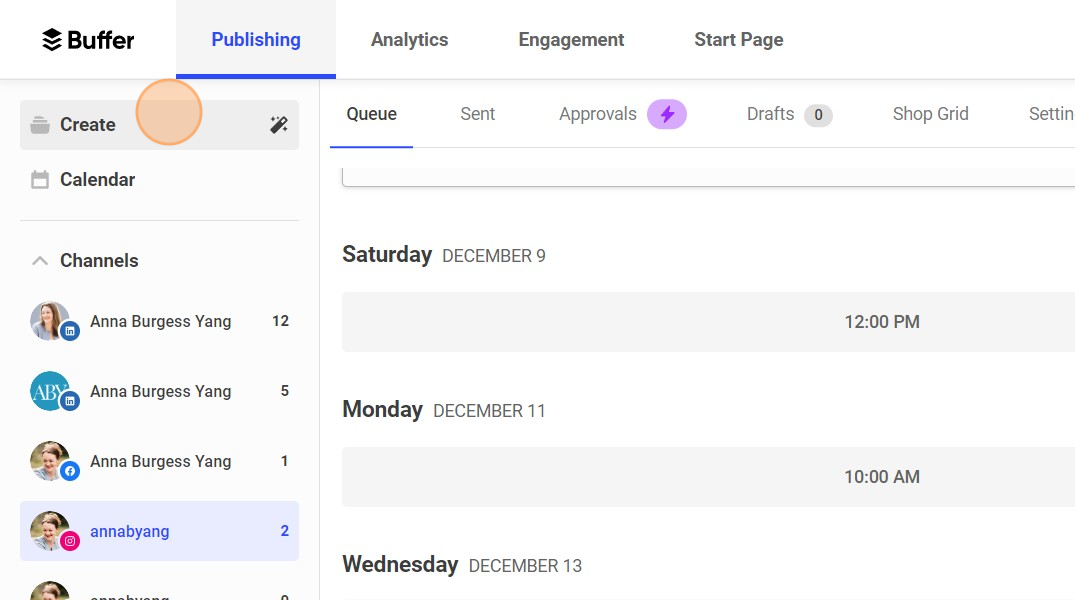
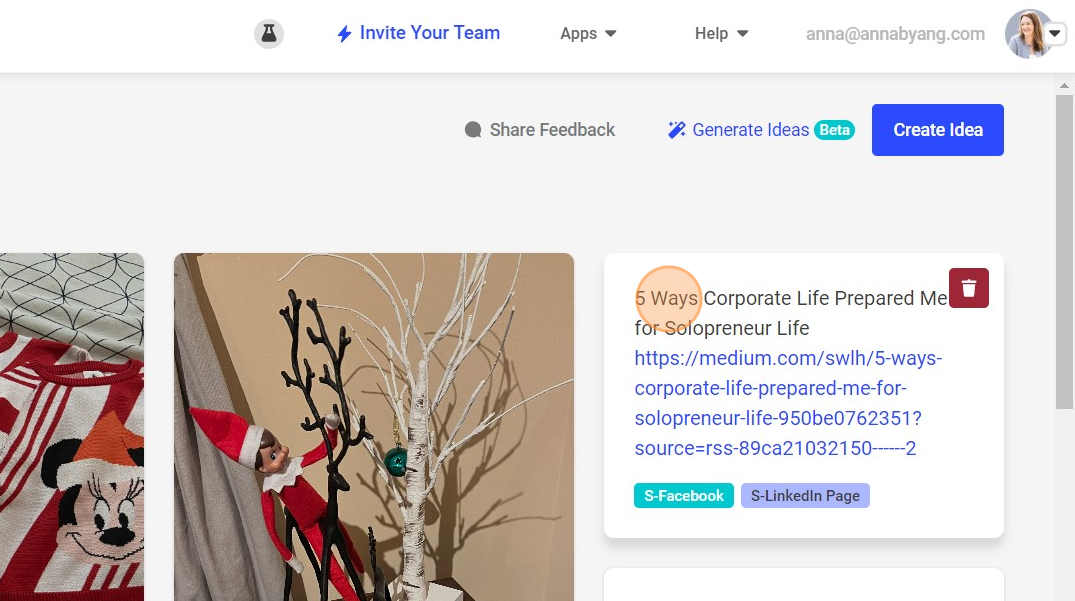
I'll go into my Ideas and see my published articles from the past week. Click on Create.
Each article from my RSS feed will have the name of the article and the published URL, along with the Tags I added in Zapier.
Click on one to edit it.
(Oh hey, looks like I'd planned to share a photo of my Elf on the Shelf to my Instagram account. Cute.)
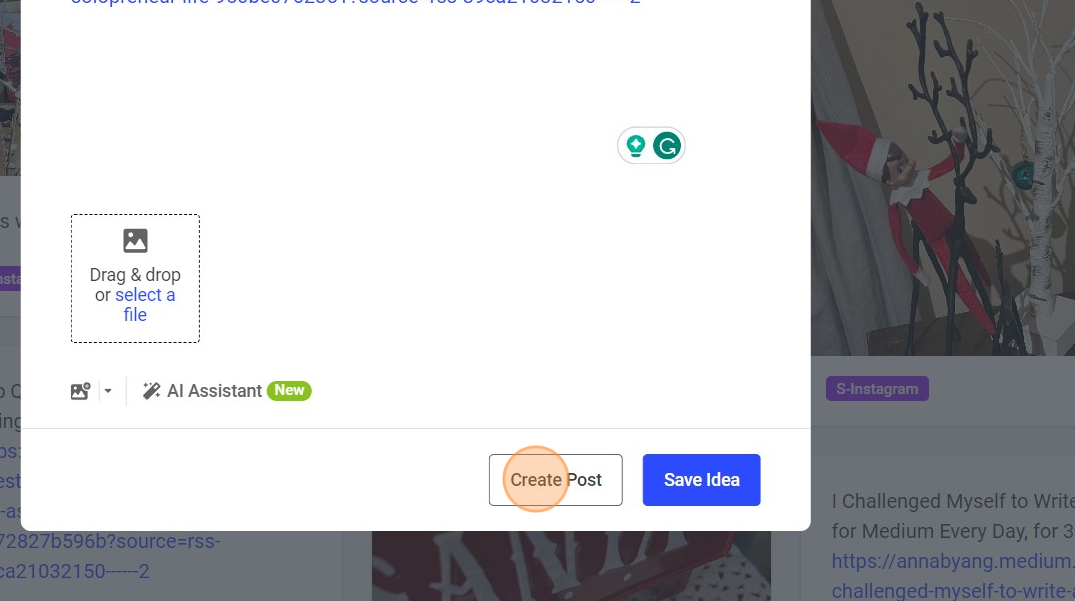
Then you'll click on Create Post from that Idea.
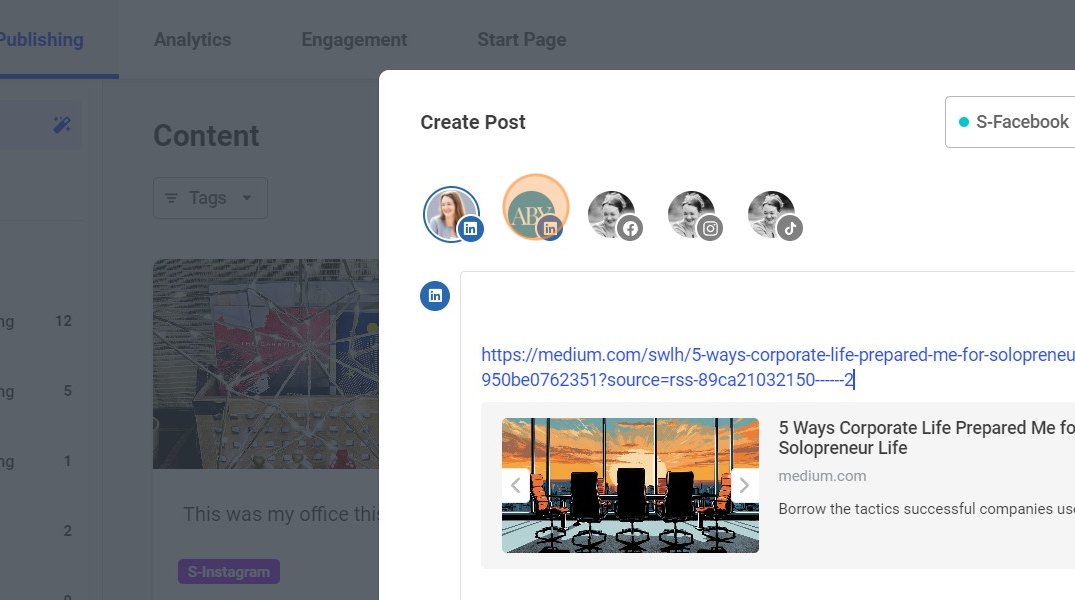
Step 4: Select the social profiles and write the Post
From within the created Post, you can select multiple social profiles if you want the Posts to be exactly the same.
If not, you could write the Post for one profile, then go back to the Idea and create another Post for another profile. I do this a lot, since I'll tweak the post depending on the social platform.
Here, I've selected two profiles. Then I would type the text for my post. The link is already there for me! And it looks great!
Step 5: Schedule the Post
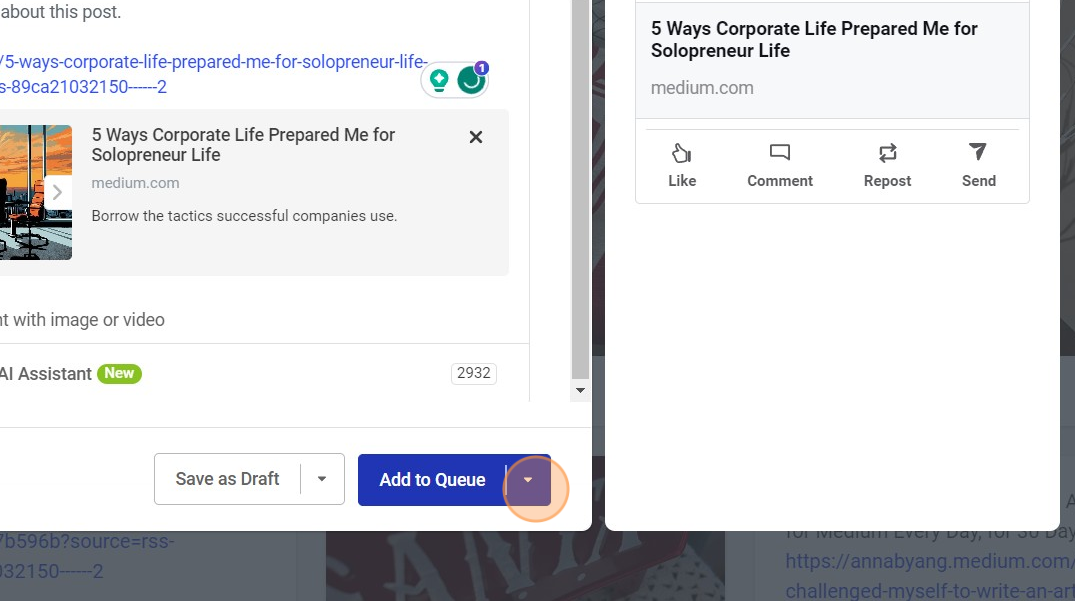
Once you're done, you'll select Add to Queue at the bottom of the Post. You can select "Share Now" "Share Next" or "Schedule Post."
I always select "Schedule Post" so I can control when the Post is published.
Once I've scheduled the Post, I'll go back and delete it from my Ideas. That way, I know what has been scheduled and what has yet to be scheduled.
I have Zapier automation set up for this website, so once I publish this article, it'll show up in my Buffer Ideas to be scheduled as a future Post. 🤩
Other Resources:
- I wrote a whole eBook about managing your time and content across multiple platforms – for anyone who is juggling a lot (like me!)
- Here's an article about ways you can repurpose your own content.


