Automatically Extract Text from Canva Social Posts
Turn one post into two posts.


I try to squeeze the most value out of my content as possible.
I use ChatGPT to rewrite text posts from LinkedIn so they're more appropriate for Threads. I pull quotes from podcast transcripts. And I turn the text from Canva images into standalone social posts.
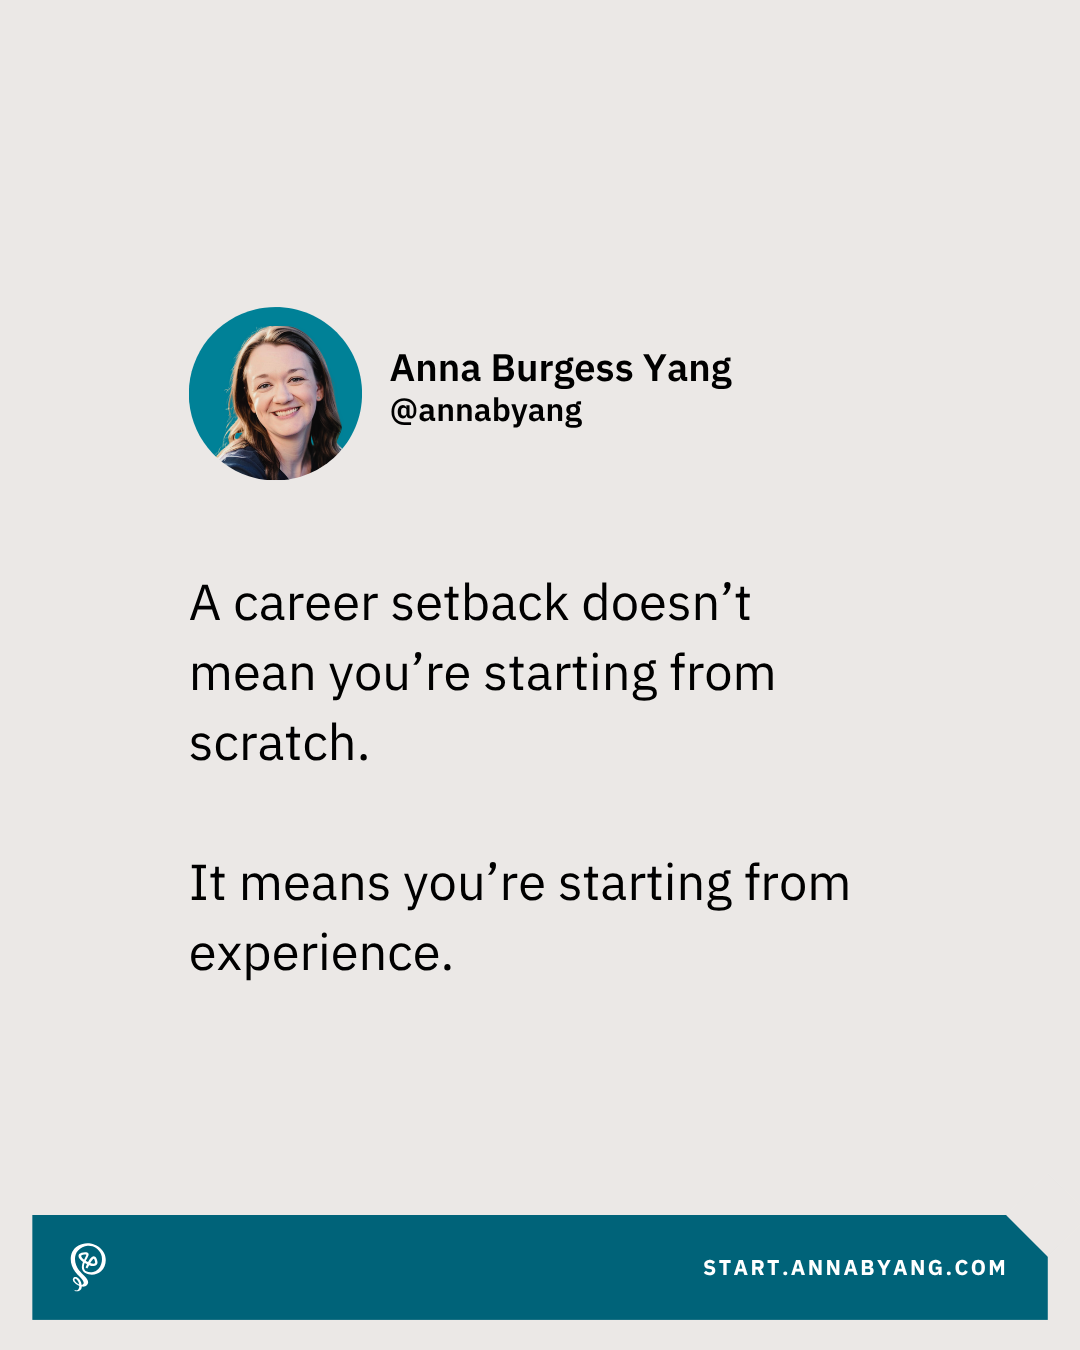
I keep my content varied, and that includes some images I create in Canva. I have several templates and add some text to the image. Like this:
Since I took the time to write the text on an image post, I want to use it again as its own text-based post. For a long time, I was having my virtual assistant do this manually – and then realized I could do this automatically using ChatGPT's image analysis.
To set this up, you'll need a social media scheduling tool (like Buffer), ChatGPT, and Zapier. [affiliate link]
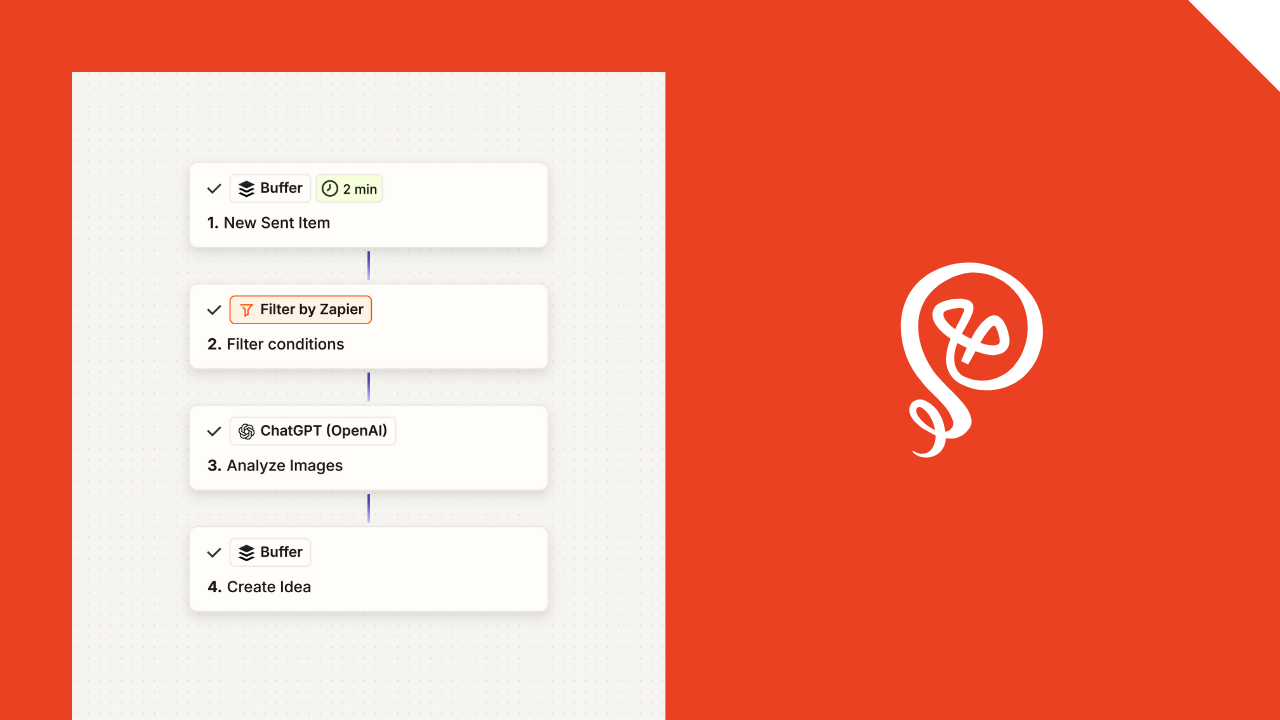
Step 1: Create a Zap based on a new sent item in Buffer
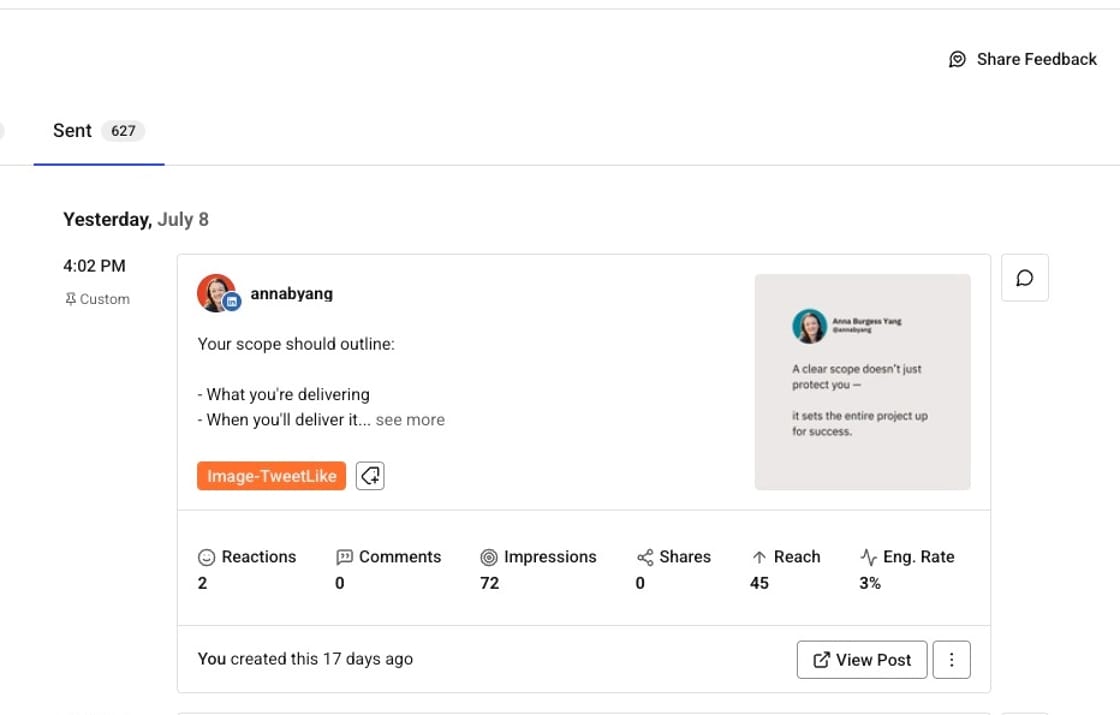
This Zap is based on sent items in Buffer. Here's the Buffer view – you can see that the Canva image was sent (this is my LinkedIn profile).
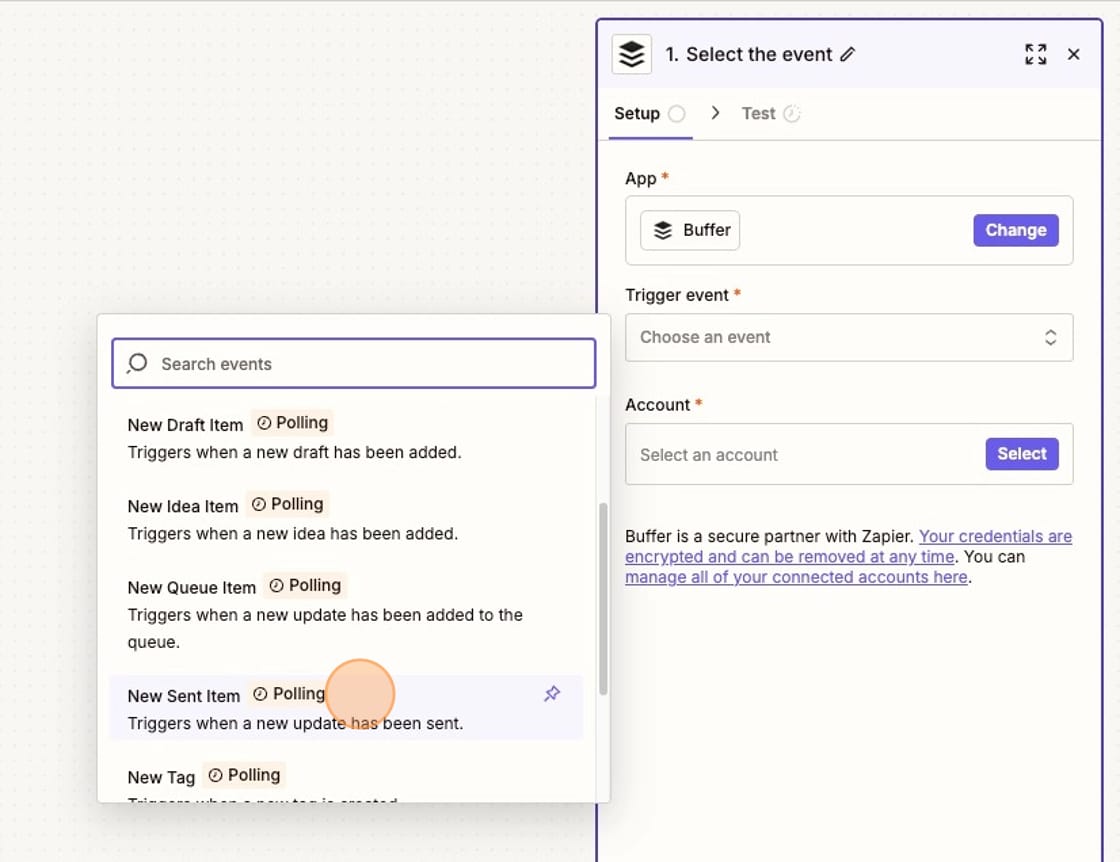
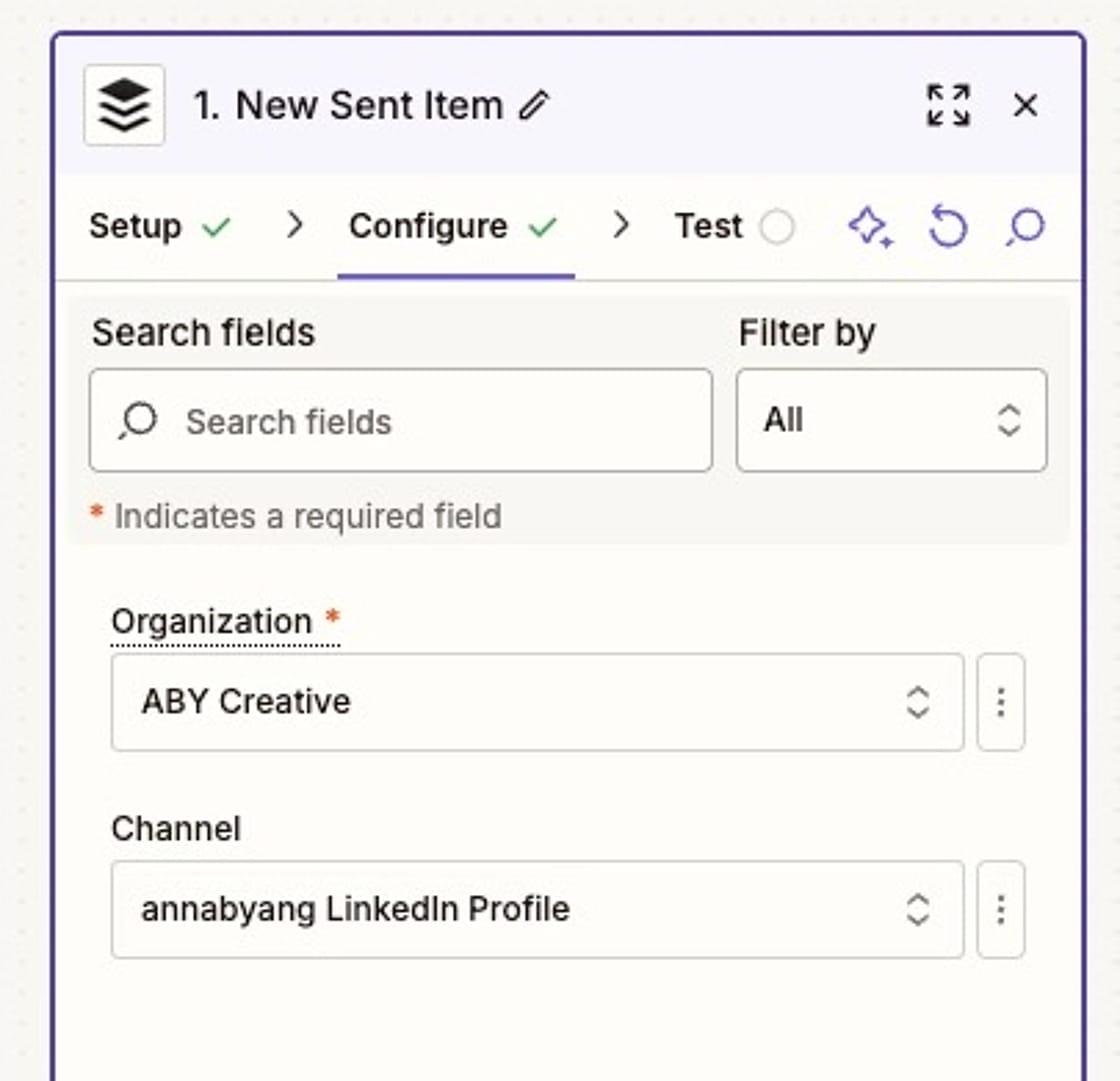
In Zapier, you'll select Buffer as your app and New Sent Item as your trigger event.
On the Configure tab, you'll select your Organization and Channel (in this case, the image was sent from my LinkedIn profile).
Step two: Add a filter
You don't want this Zap to run for all sent posts; you only want it to run for those that contain images.
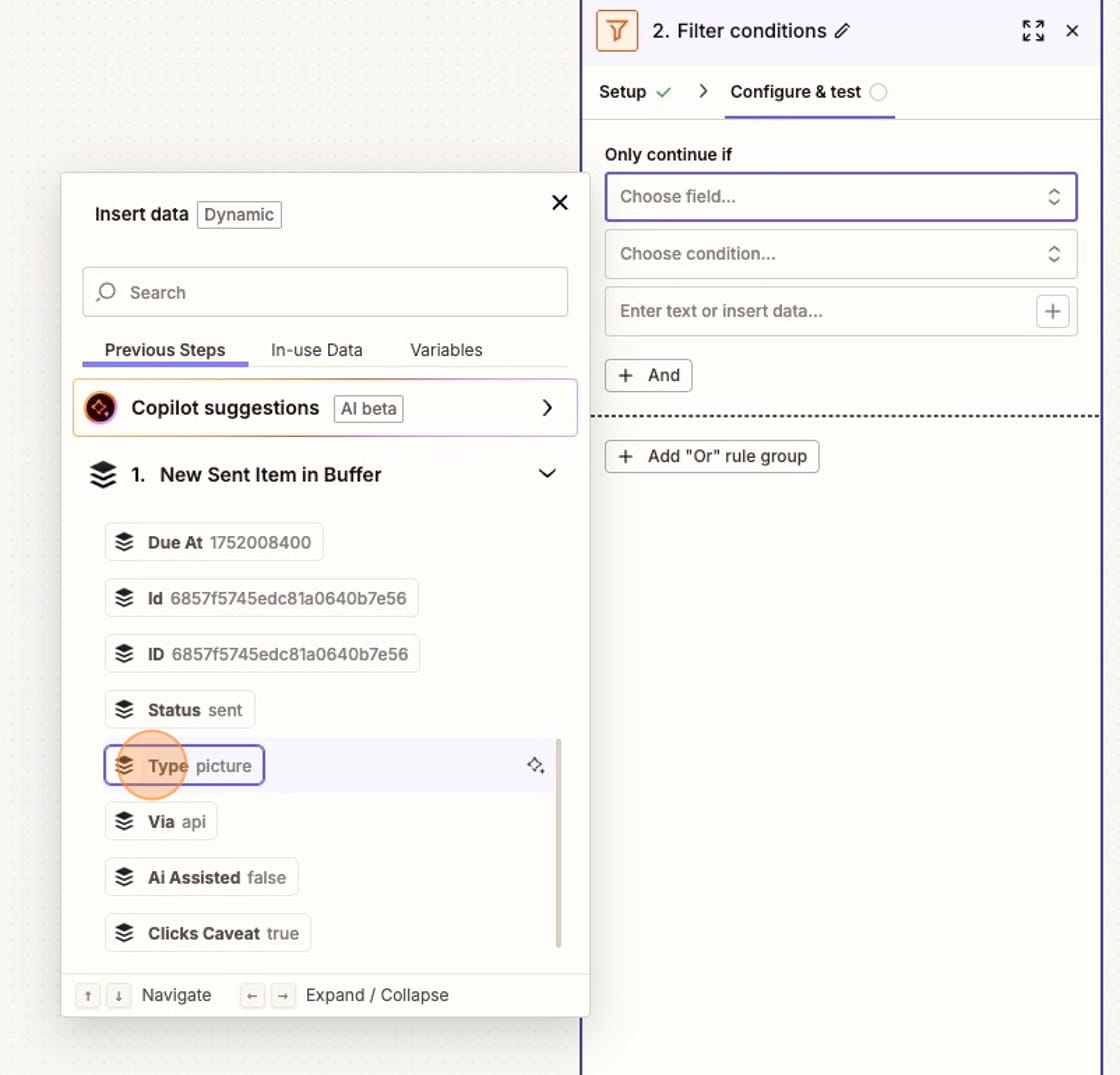
You'll add a Filter step in Zapier. Under Only continue if select "Type" from your Buffer step.
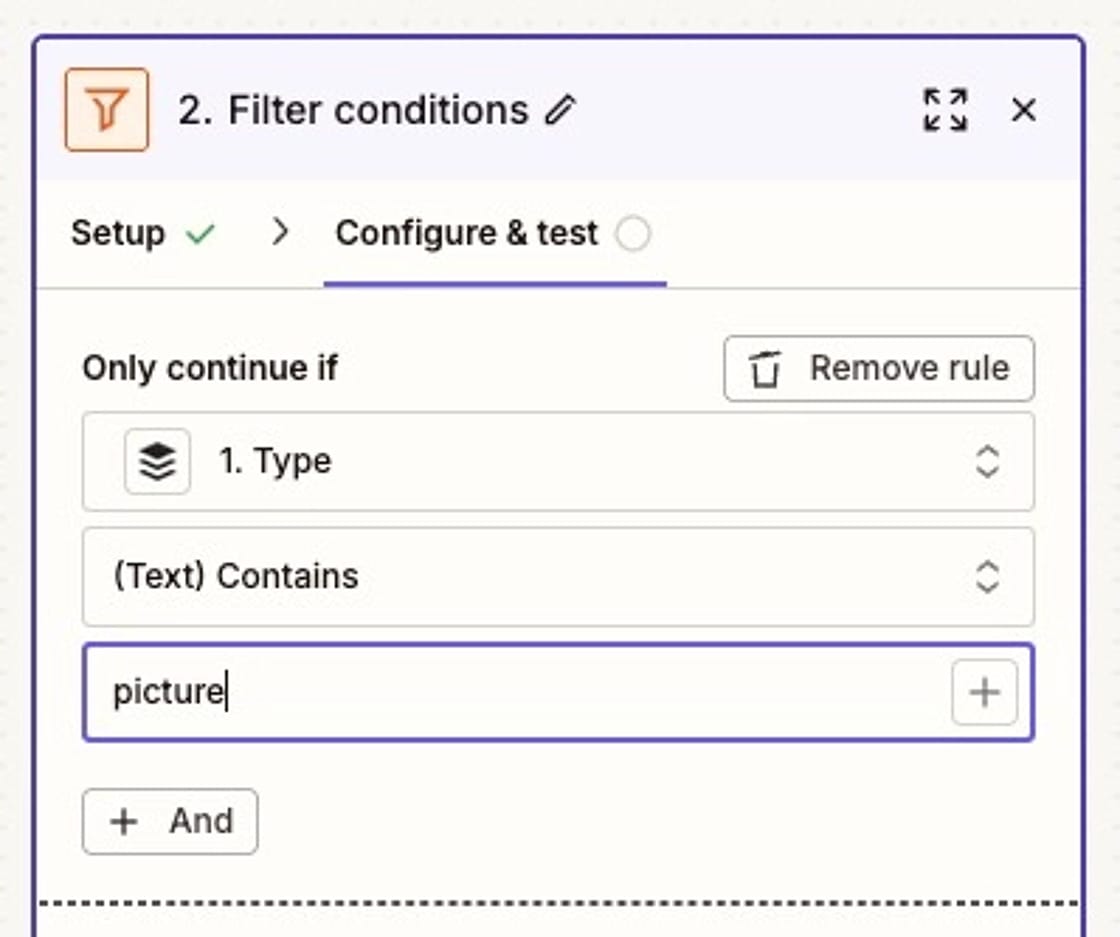
In the conditions field, you'll select "Contains" and then type in "picture."
By doing this, your Zap will only run when you send pictures (images) from Buffer.
Step 3: Add ChatGPT image analysis
Next, you need ChatGPT to extract the text from the image.
You'll select ChatGPT as the app and an Action Event of "Analyze Images."

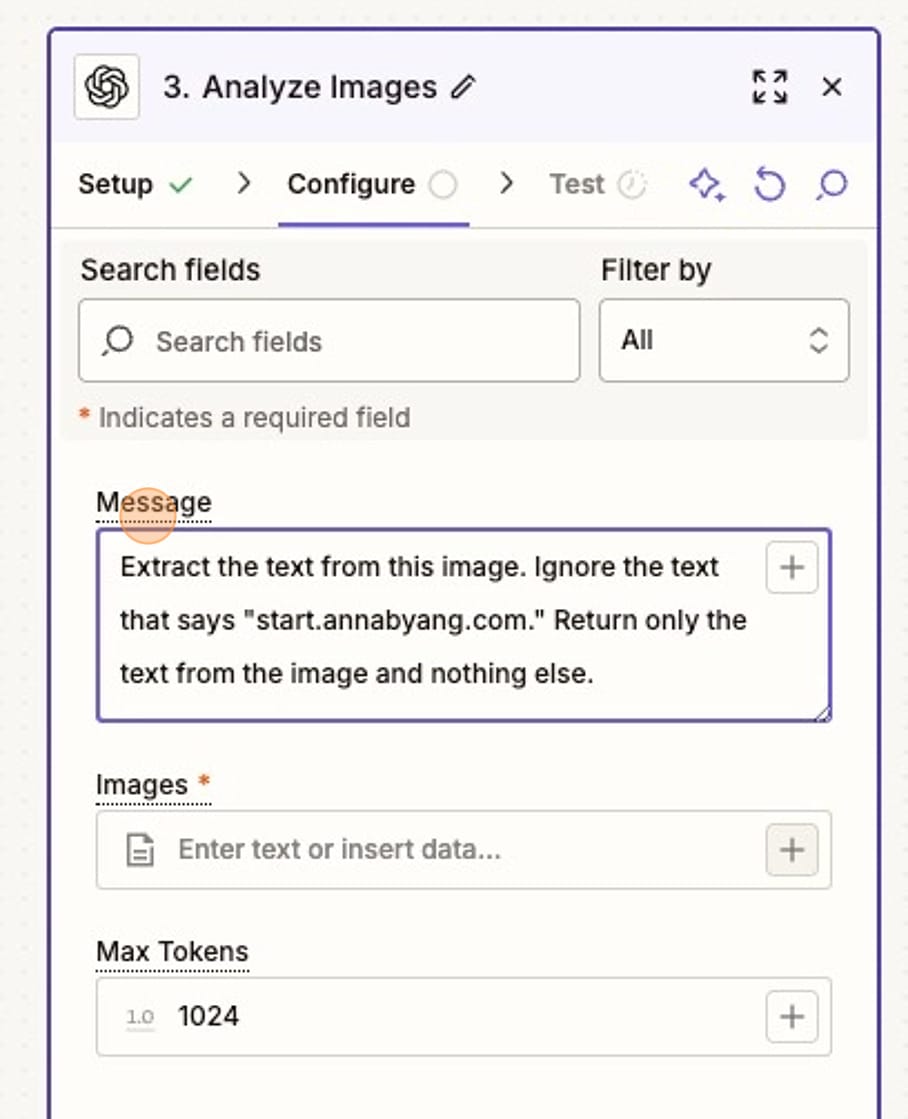
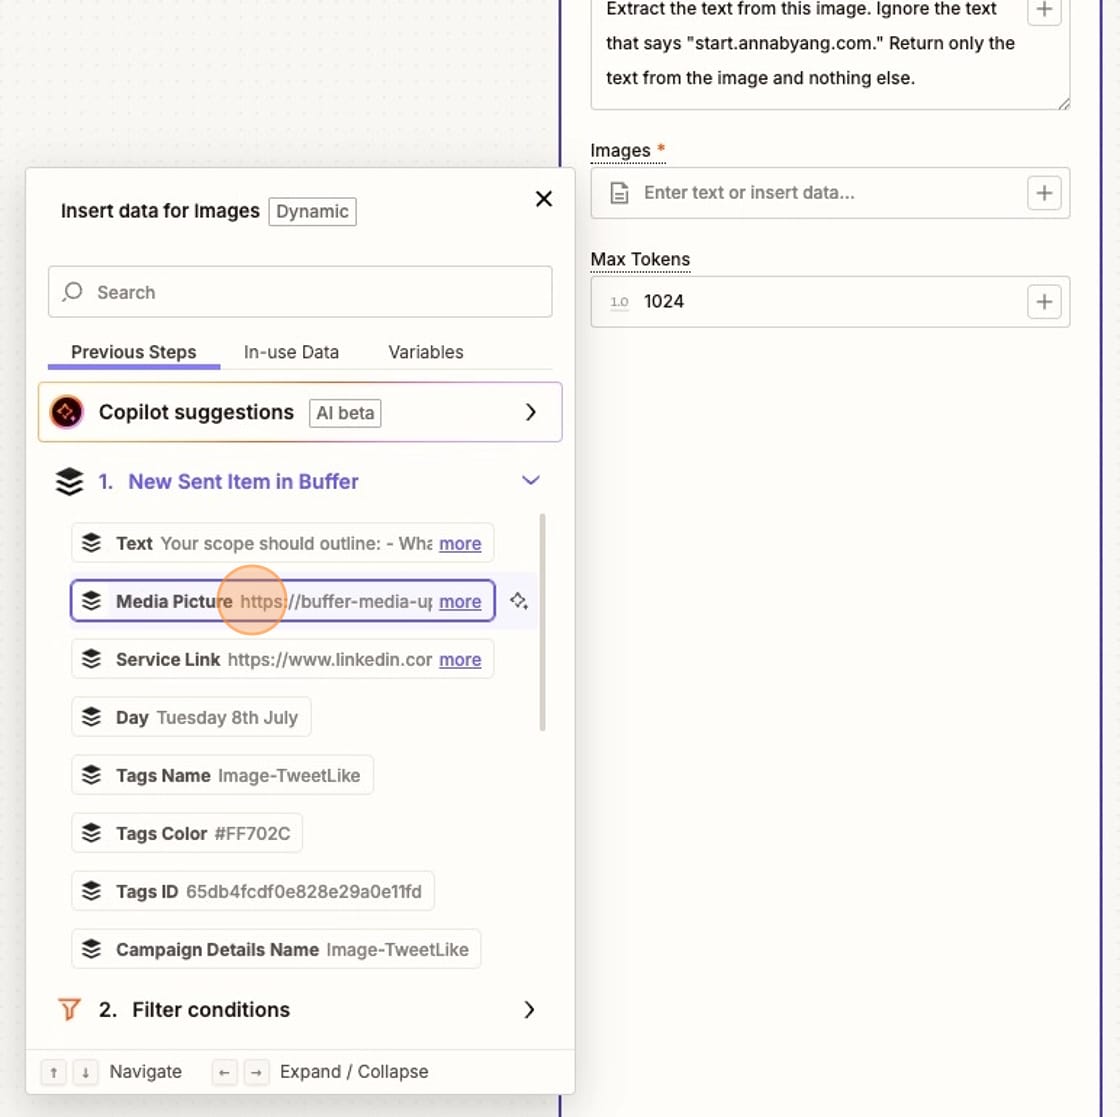
You'll type in your instructions to ChatGPT in the Message field. Mine say:
Extract the text from this image. Ignore the text that says "start.annabyang.com." Return only the text from the image and nothing else."
I have to include the instructions to ignore my website because it's in the footer of my image. Otherwise, I'd get the URL included with the extracted text.
Below the Message field, you need to attach the image.
You'll select the "Media Picture" from your Buffer step. This sends the image sent by Buffer through ChatGPT along with your instructions.
Step 4: Schedule a social post with the extracted text
Finally, you'll send the extracted text directly back to your social media scheduling tool.
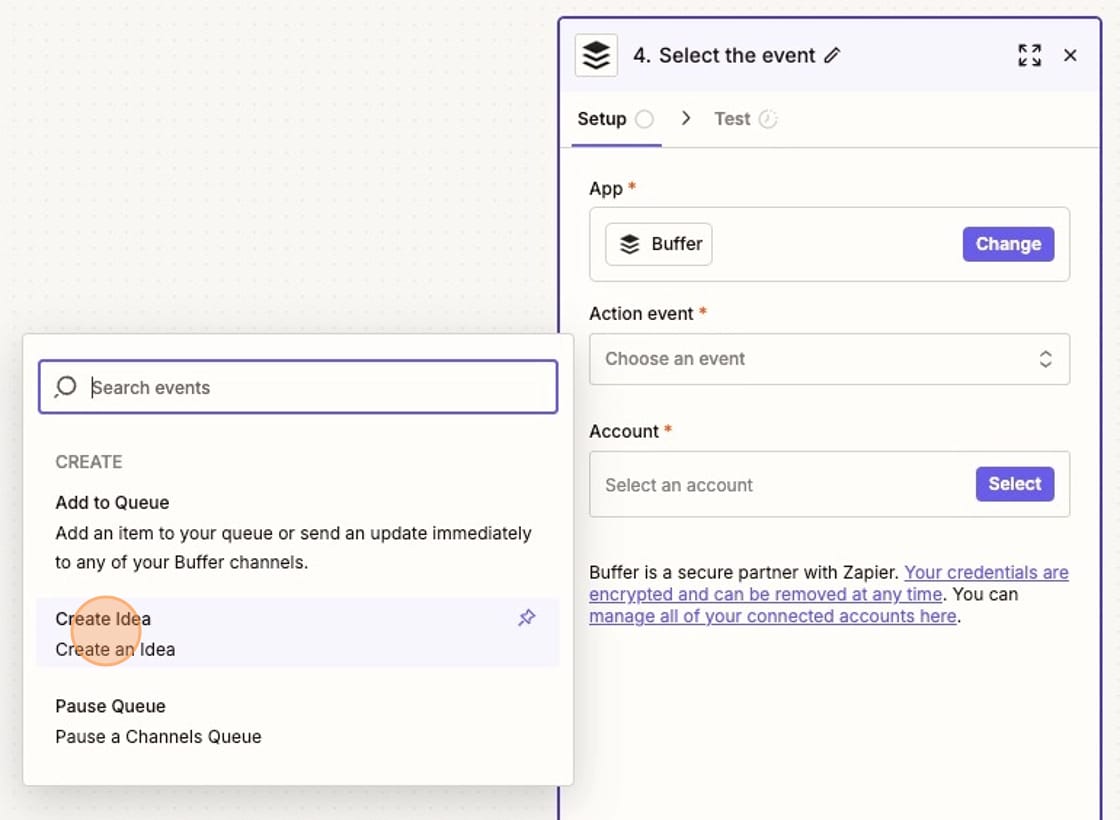
I send the text back to the "Create" space for Buffer, which is a place to store ideas. I sometimes like to edit the extracted text posts before I publish them.
But you could also send the extracted text directly back to your queue. You could send it to a different channel (like Threads). You could also add a Delay step in Zapier if you wanted some time between the inital image post and the text post (like a 30-day delay before it is sent back to your social media scheduling tool.
In Buffer, your Action event is "Create Idea."
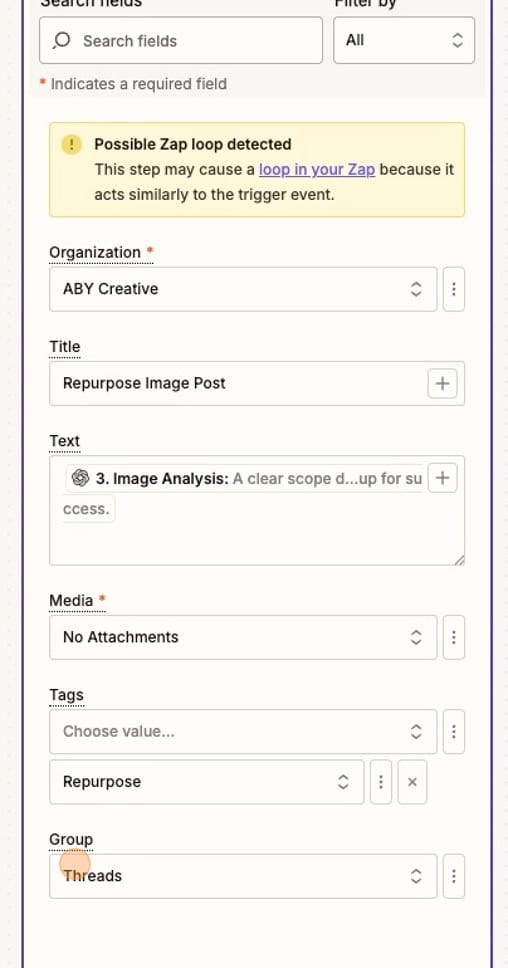
Zapier warns me that there is a possible loop – because I'm starting and ending the Zap with Buffer. But it's not a true loop because the steps are doing different things.
For the Create space, I have to add a Title. I use "Repurpose from Text Post" so I can easily identify them.
In the Text field, you'll click the (+) button and add the "Image Analysis" from the ChatGPT step.

At the bottom, you can choose to add Tags or a Group. I have Groups set up for different social profiles, so I add this post to the Threads Group.
Boom. One post is now two posts!
More resources:
- Getting Started With Automation (a free guide)
- How I Produce Content Consistently As a Solopreneur
- Welcome to the Machine: Employees, AI, and Responsible Companies