Automatically Add Blog Posts to Notebook LM
Search within your own writing using Notebook LM.

Have you checked out Google's Notebook LM yet? Unlike other AI tools, this one searchs your own files rather than the entirety of The Internet. If you're researching something or want to limit your search to specific sources, Notebook LM is amazing.
For example, I like to search within my own writing — figure out when I've written about certain topics before, or even brainstorm new ideas. Within Notebook LM, you can use a chat interface:
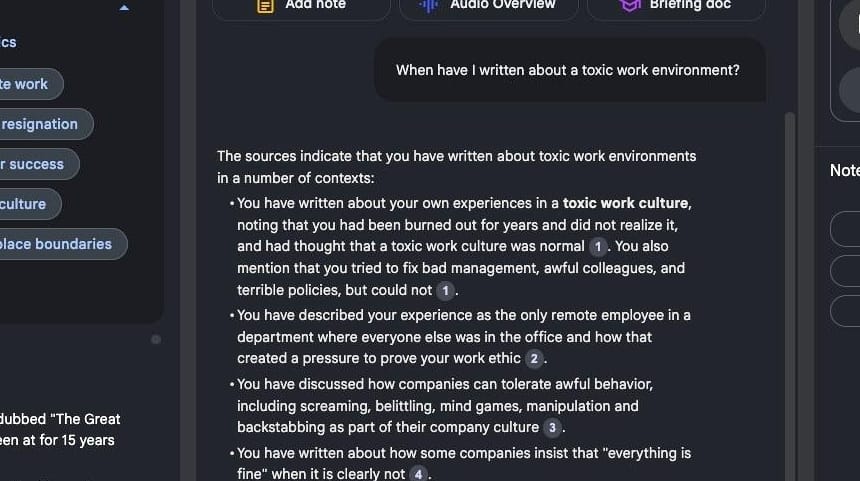
Notebook LM will return results with citations. When you click on the citation, it will take you to the exact spot in your connected sources. Each source is manually connected:
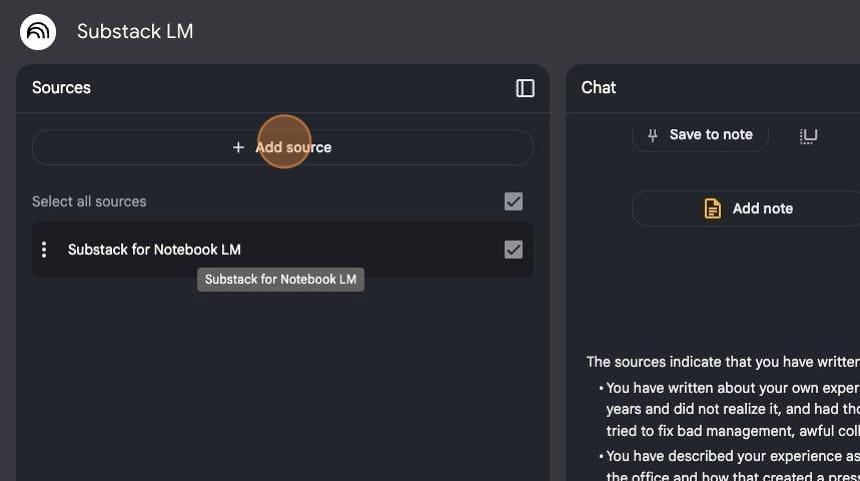
Here's the problem I encountered: I want to search within my published blog posts. I don't want to manually add new sources every time I publish a blog post. Your source can be a URL, but Notebook LM will only look at that specific URL, not all URLs within the domain (at least, not right now).
I figured out how to get exactly what I'm looking for within Notebook LM by creating a single Google Doc with the text of all of my blog posts. As new posts are published, they're automatically appended at the end of the doc via Zapier [affiliate link].
Here's how to set it up.
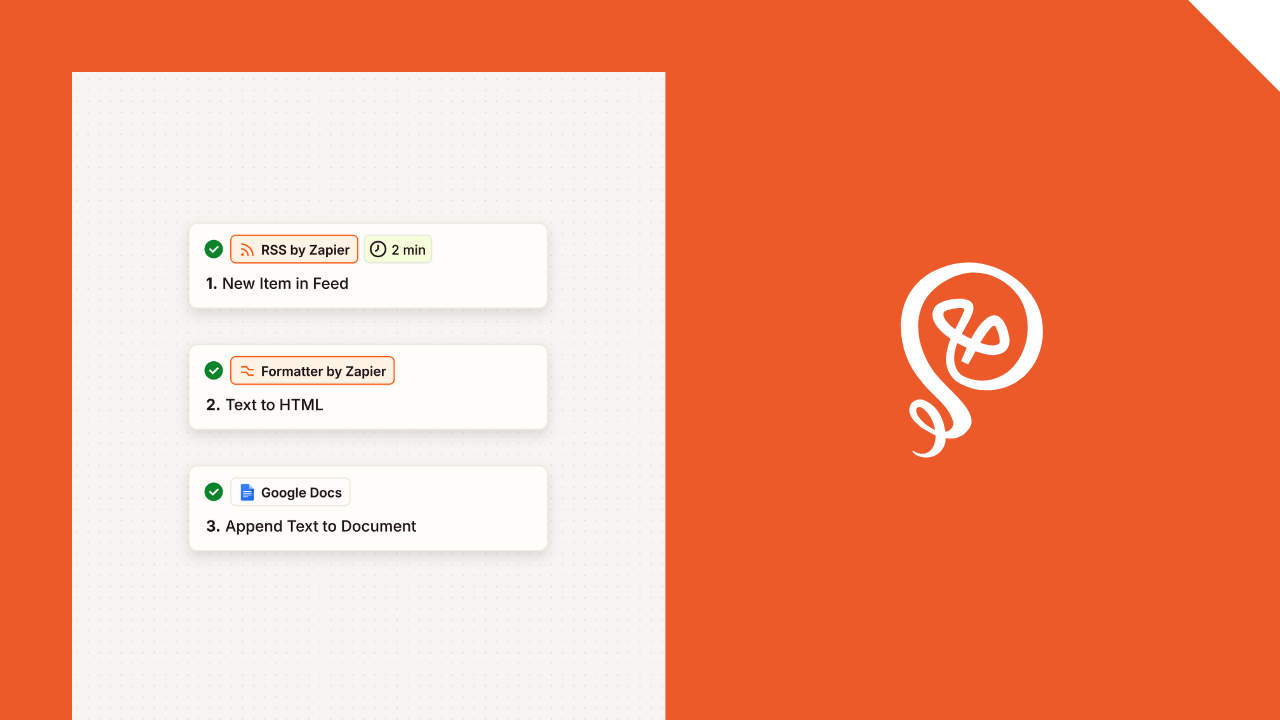
Step 1: Create a Google Doc
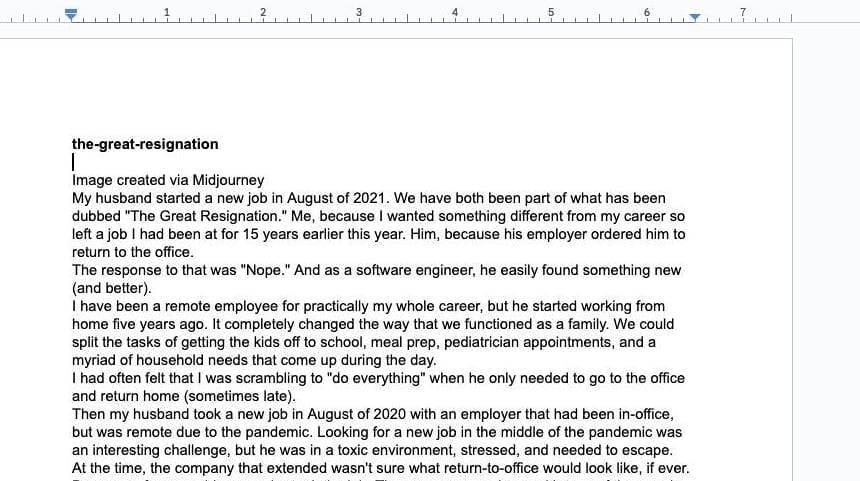
The first step is really easy: create a Google Doc. All of your new blog posts will be added to this doc once you've got the automation set up. This is the doc you'll connect in Notebook LM. It can be located in any folder within your Google Drive; you'll select the folder later.
You'll need the name of the document later when you set up Zapier, so keep it simple. Mine is called "Substack for Notebook LM" (and I have separate docs for my other blogs).
Step 2: Set up an RSS feed in Zapier
For this to work, Zapier has to know when new blog posts are published. There are some platform-specific apps (like Wordpress and Ghost), but I find that it's easiest to rely on the RSS feed.
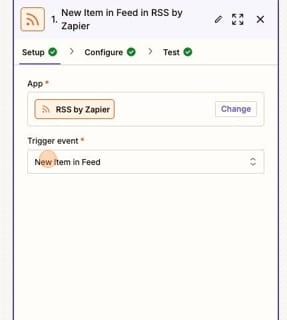
You'll select RSS by Zapier and then select "New Item in Feed."
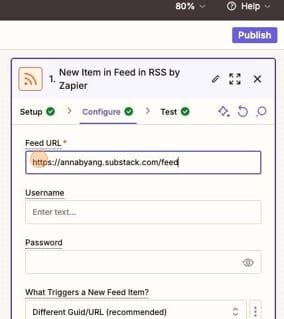
On the Configure tab, you'll add the URL of your RSS feed. If you're not sure about the URL, just use Google to find the standard convention and update it to match your site.
For example, Substack's RSS feed is yoursite.substack.com/feed. Add the URL to the "Feed URL" field.
Step 3: Format the text
If you send the text of your blog post directly from the RSS feed to your Google Doc, it won't look that great when you're trying to navigate the doc in Notebook LM. So I add a formatting step.
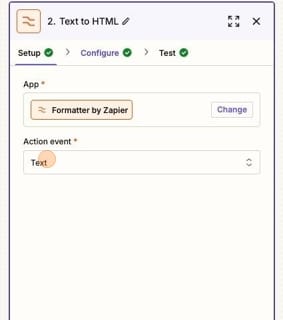
You'll select Formatter by Zapier with an action event of "Text."
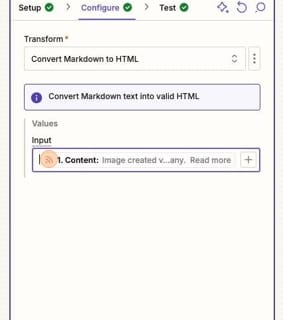
On the Configure tab, select "Convert Markdown to HTML." Your input will be the Content from your prior step (the RSS feed).
Step 4: Append your Google Doc
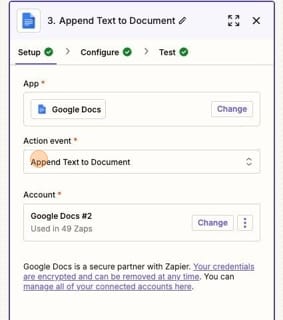
Lastly, you'll add the text from your RSS feed to your Google Doc. Your app is Google Docs and the action event is "Append Text to Document."
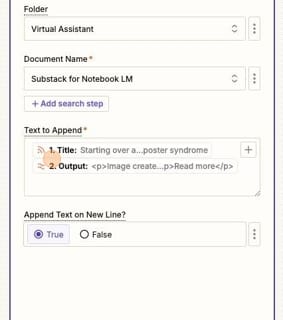
On the Configure tab, you'll select the Folder where your document is located and then type in the Document Name.
You can add anything to the Text to Append. I add the Title from the RSS feed and the HTML Output from my Formatter step. You could also add things like the date published and the URL from the RSS feed, if those would be helpful for you.
Step 5: Refresh your Notebook LM source
When you're working in Notebook LM, you'll want to make sure that it's pulling in a current version of your Google Doc.
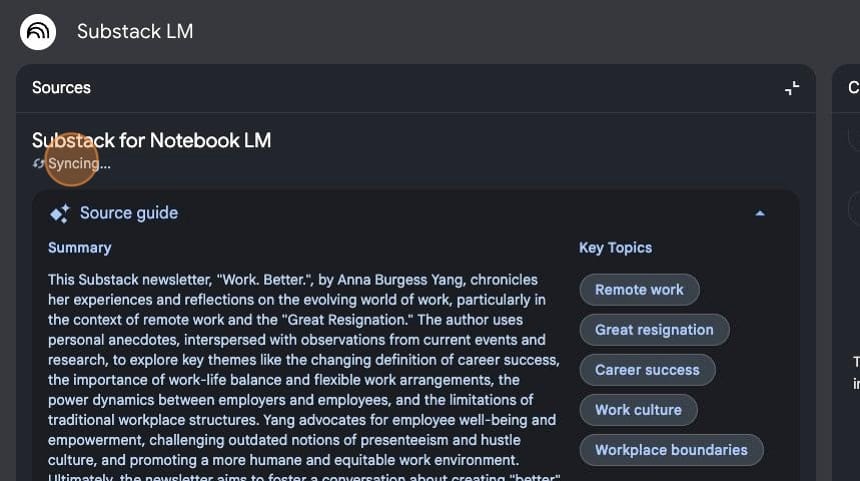
When you click on a source, you should see "Checking freshness." If it doesn't, you can also click "Sync" and it will force the document to sync and update.
Adding past blog posts to your Google Doc
If you're like me, you have MANY existing blog posts that you've already published. This automation handles your newly published blog posts, but what about everything existing?
Though time-consuming, it might be worth going back and adding your older posts to a Google Doc. Since you can connect more than one source to Notebook LM, you can have two docs: one with everything new (automatically added) and one with your older blog posts as you work through them.
Notebook LM allows 500,000 words in a single source. Mine, with more than 100 blog posts, is currently at 159,000 words. So, eventually, I'll need to create a second Google Doc and have my Zapier automation start updating that doc.
You can link 50 sources to a single Notebook within Notebook LM, and you can create more than one Notebook. I have separate Notebooks for each of my blogs, but if you want to cross-reference your work across multiple blogs, you can have all sources in a single Notebook. Or, you could have a separate Notebook for each blog, and then an additional Notebook that connects the Google Docs of all of your blogs.
Additional reading:


